Free Pattern Modifications for Sailor Girly Duck
By 1Up Crochet
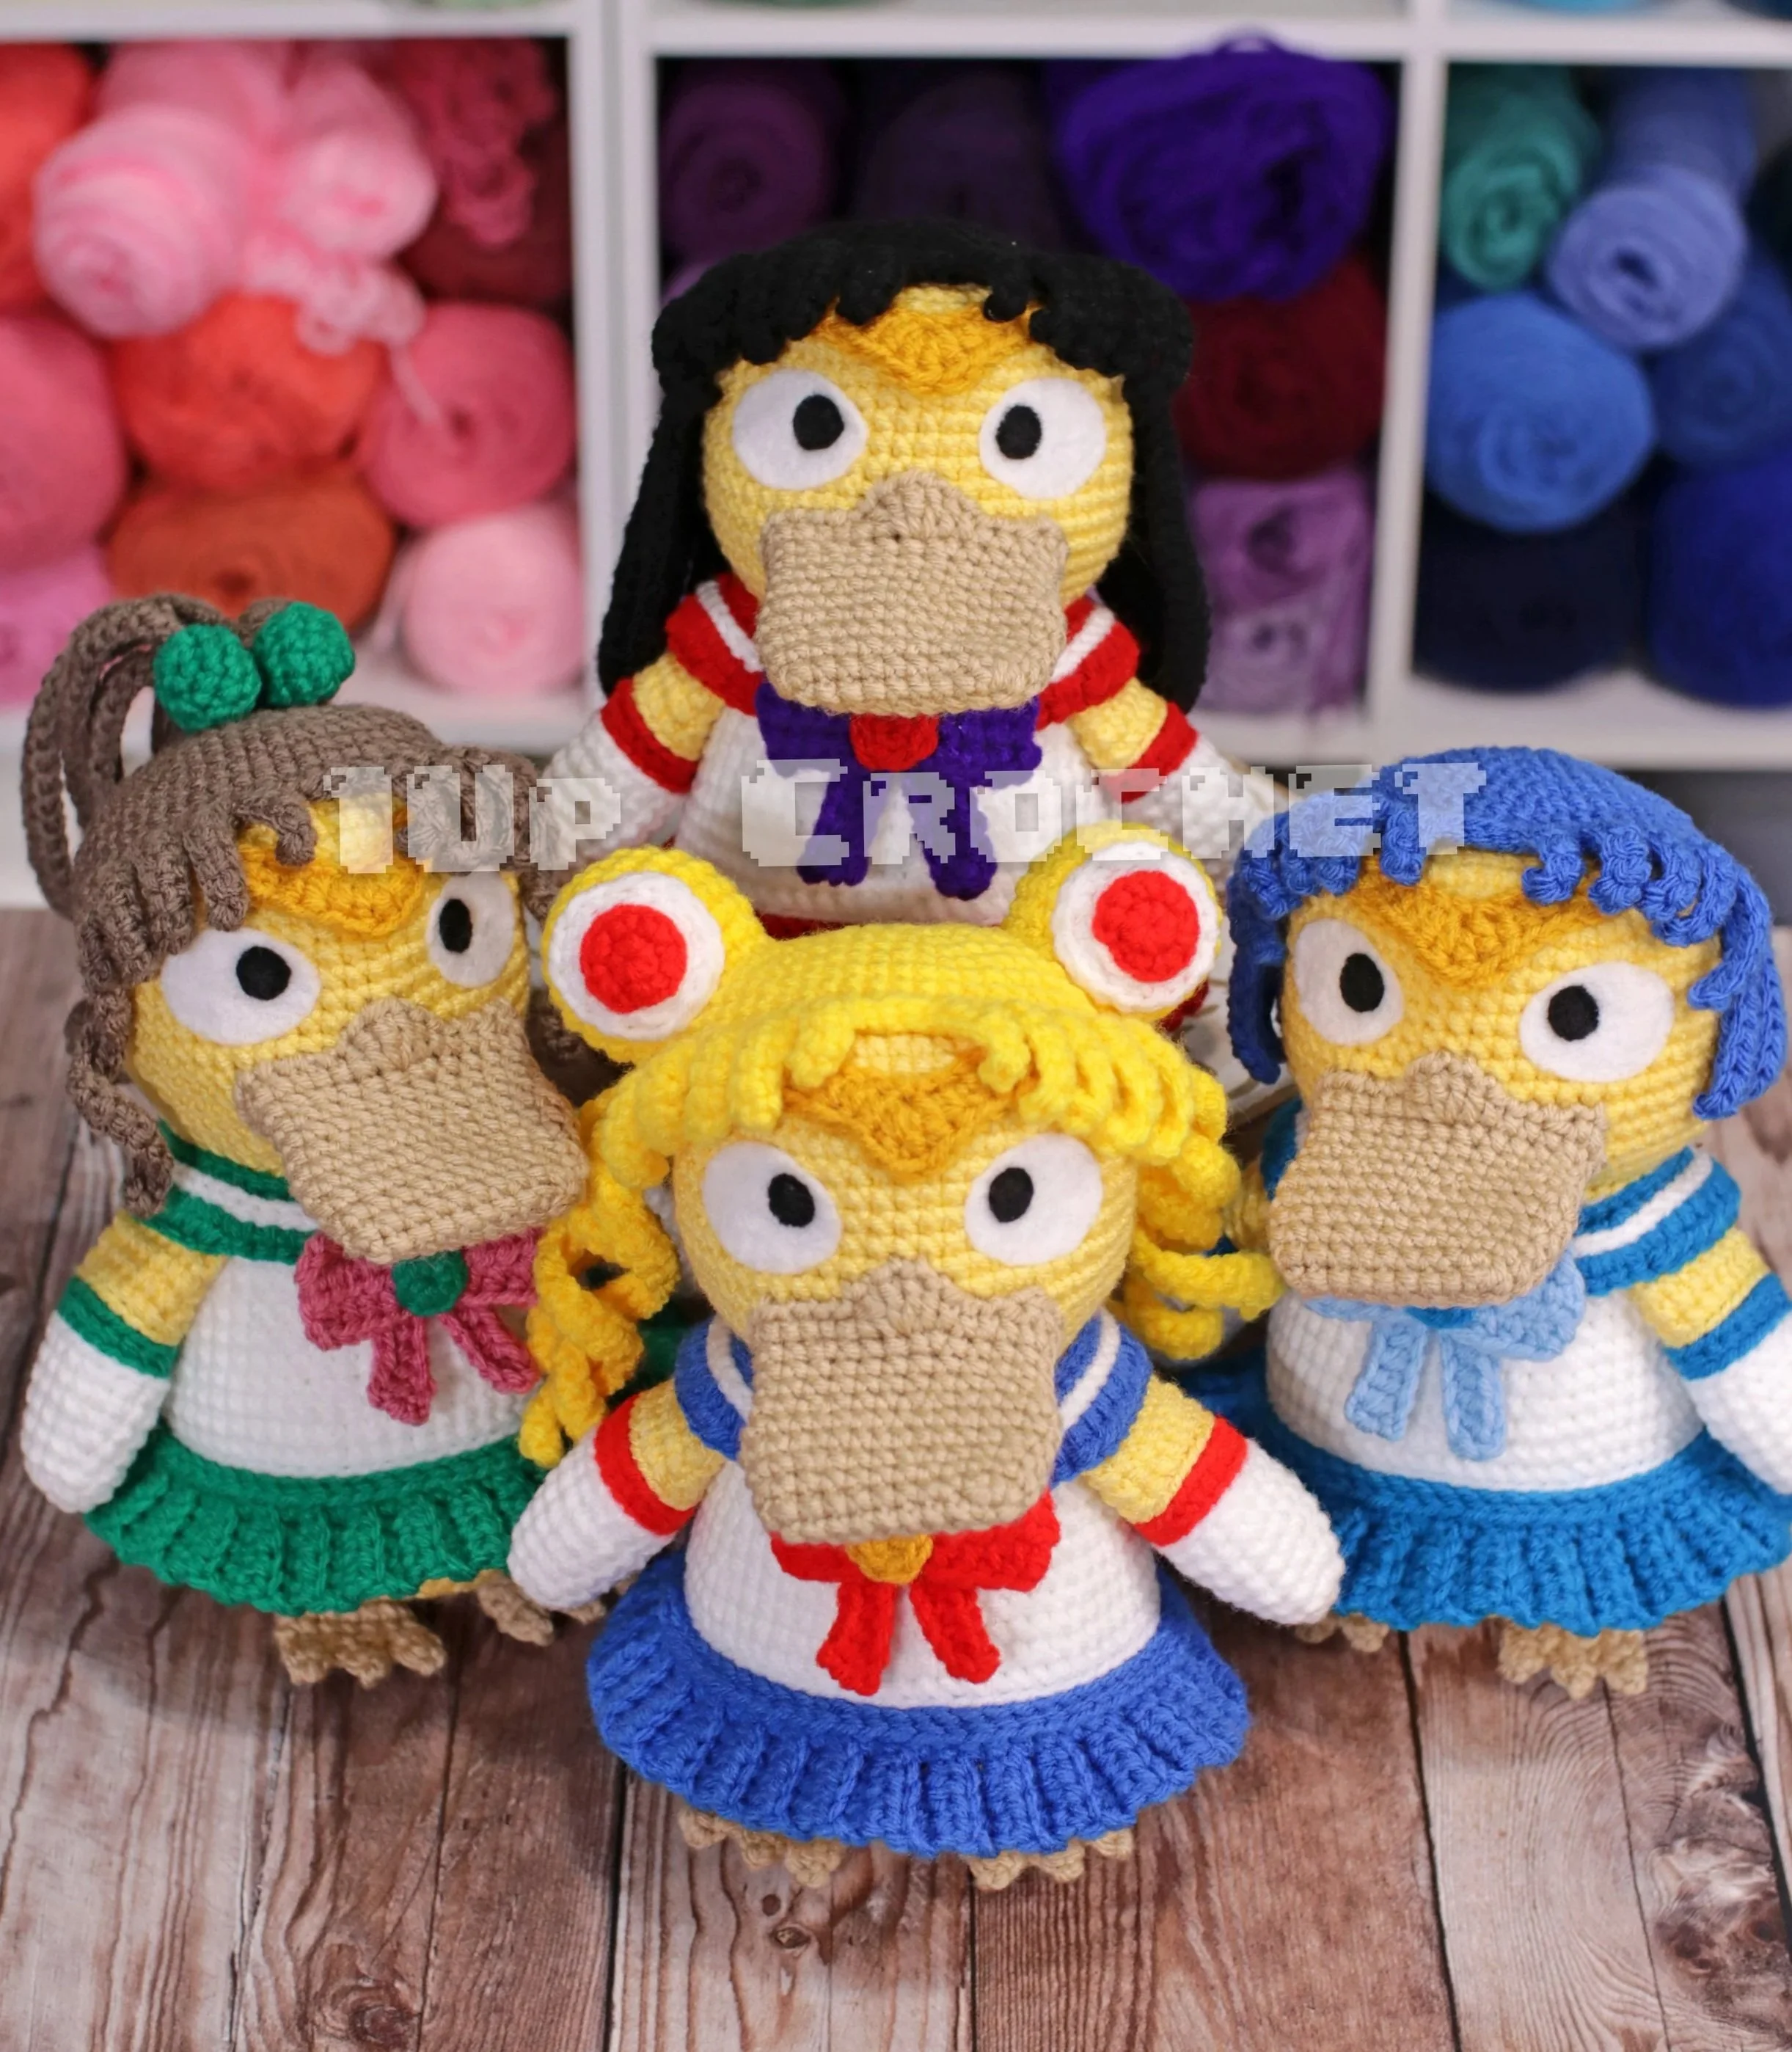
This is a free pattern modification guide for the amigurumi pattern “Sailor Girly Duck”
The original pattern can be found here.
Important Information
You may not claim this pattern as your own. You may not alter, copy, sell, or redistribute this pattern in whole or in part.
This pattern is intended for personal use only.
If you do publish photos of items made from this pattern, I ask that you please give me credit as the original designer of the pattern. It's always a good idea to give credit where credit is due.
Abbreviations
sc= single crochet
hdc = half double crochet
inc = 2 sc in the next st
sl st = slip stitch
ch = chain
sk = skip
st = stitch
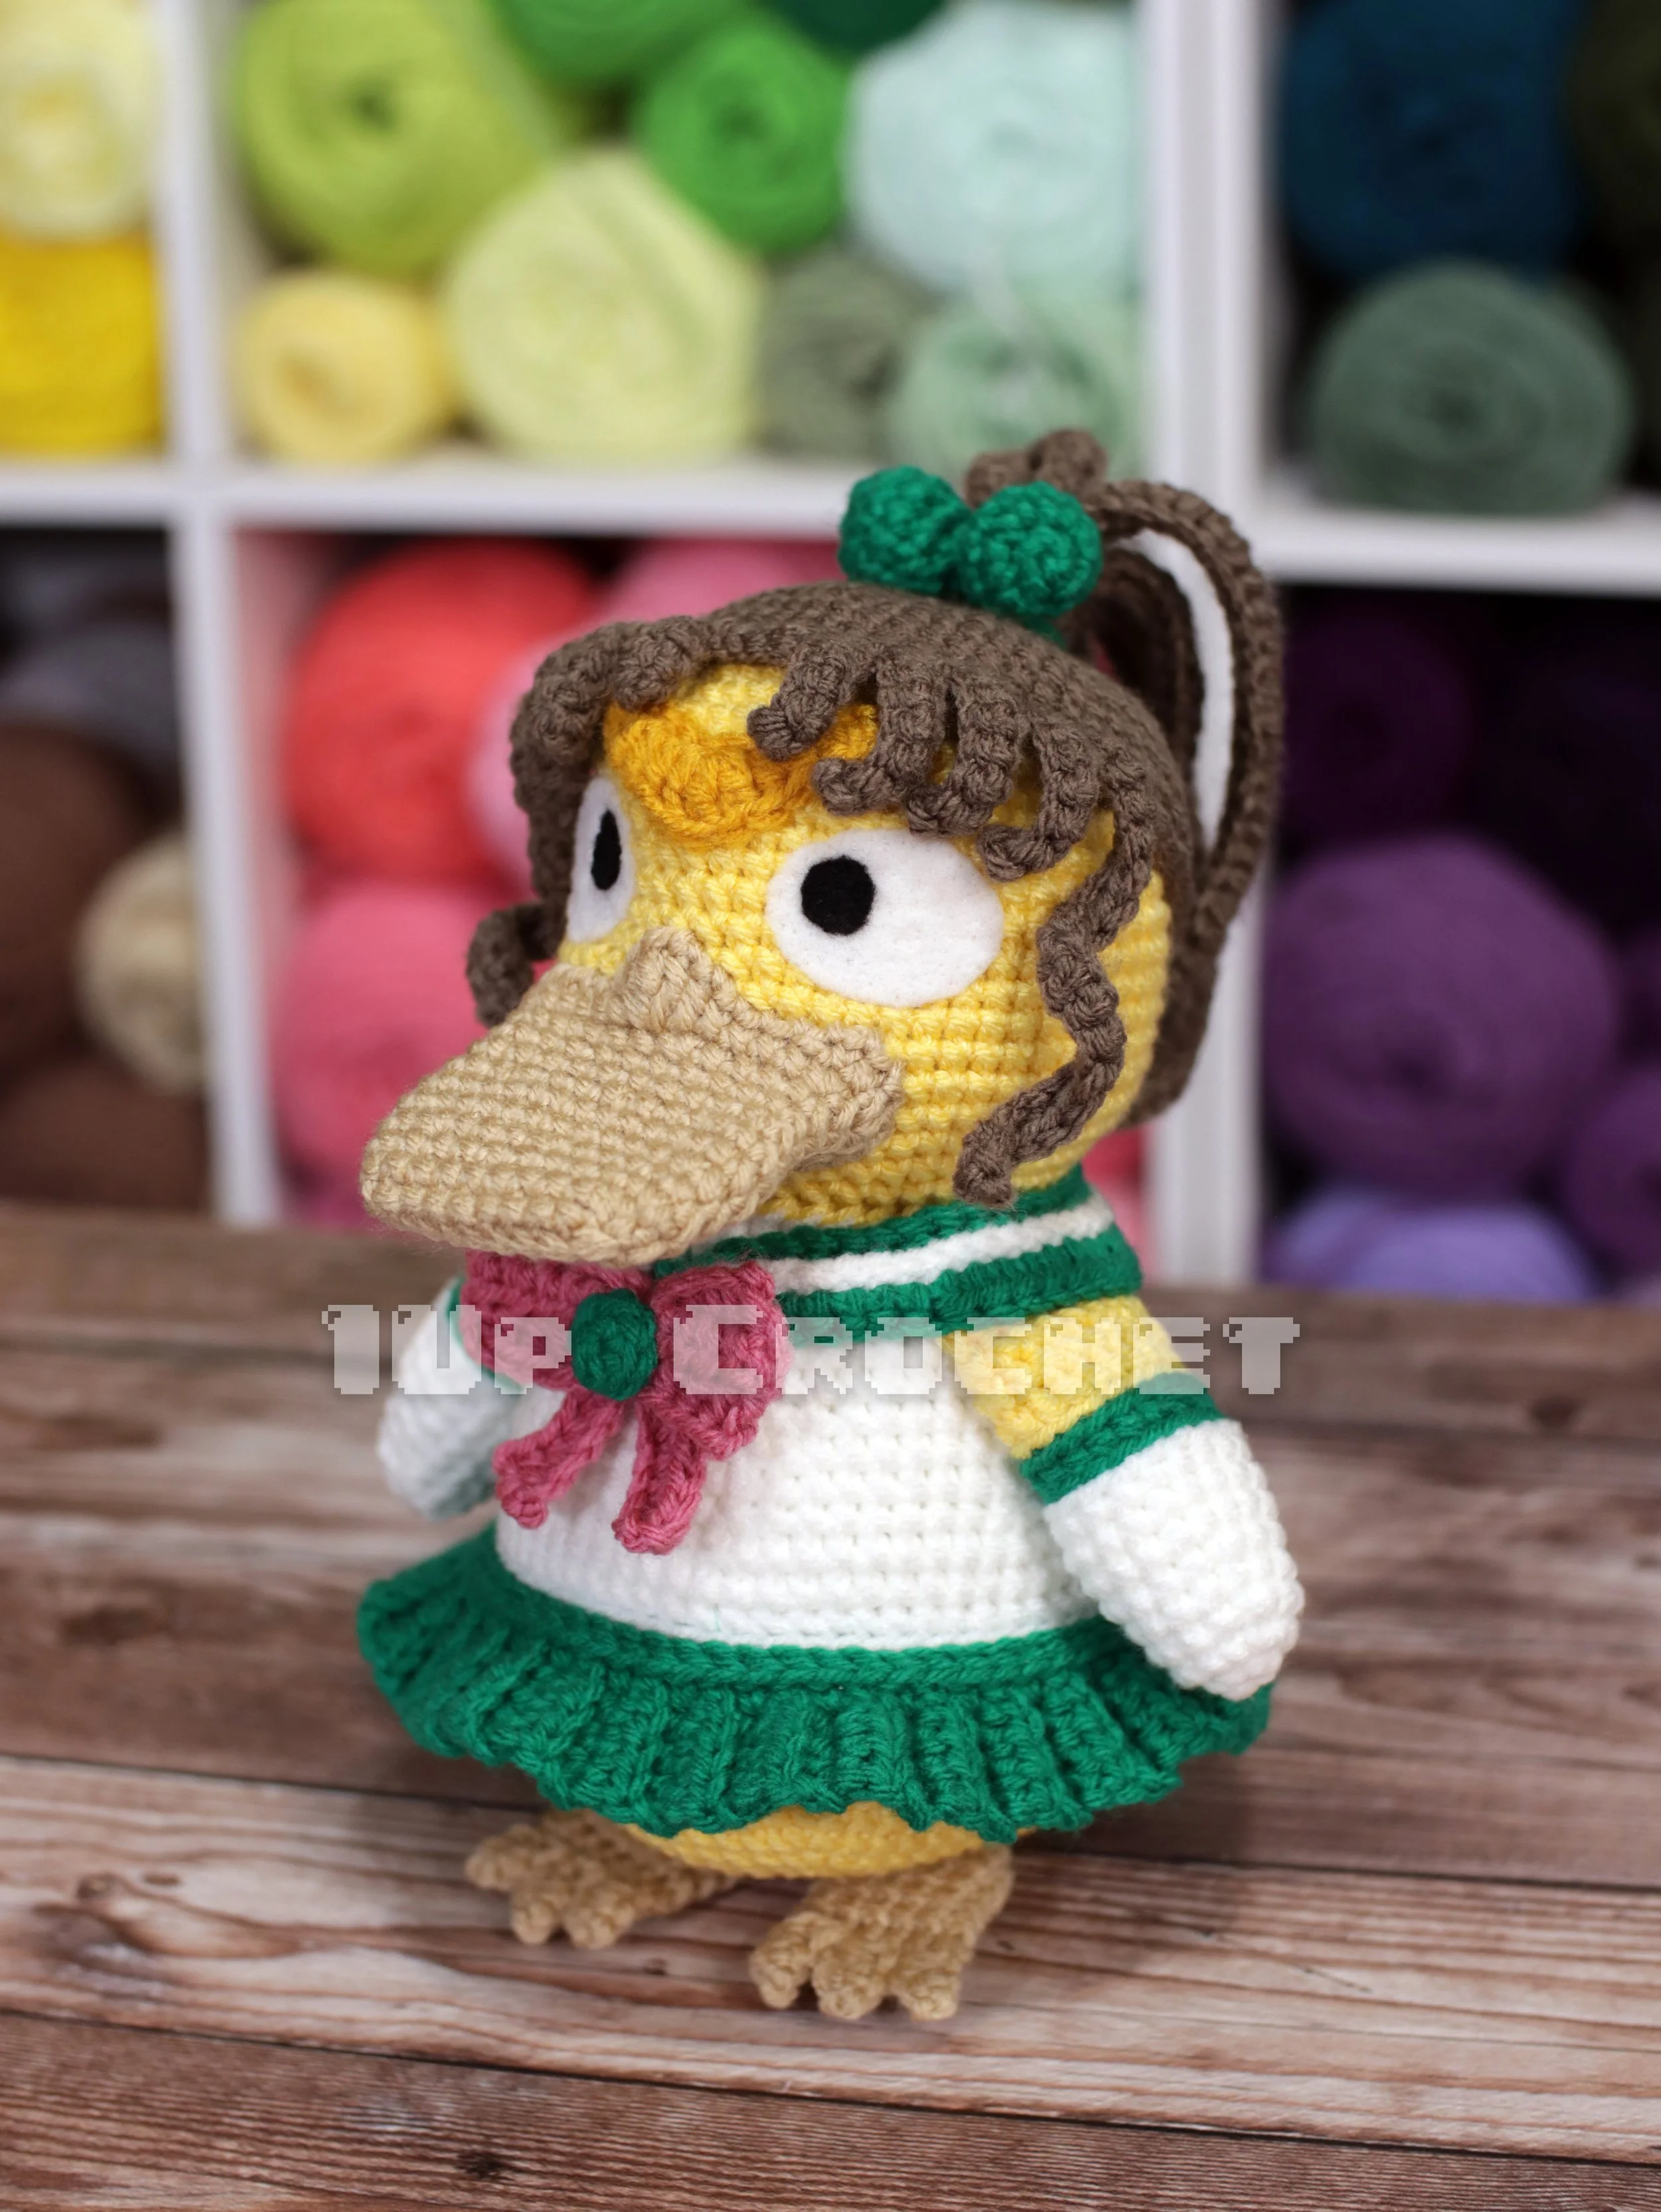
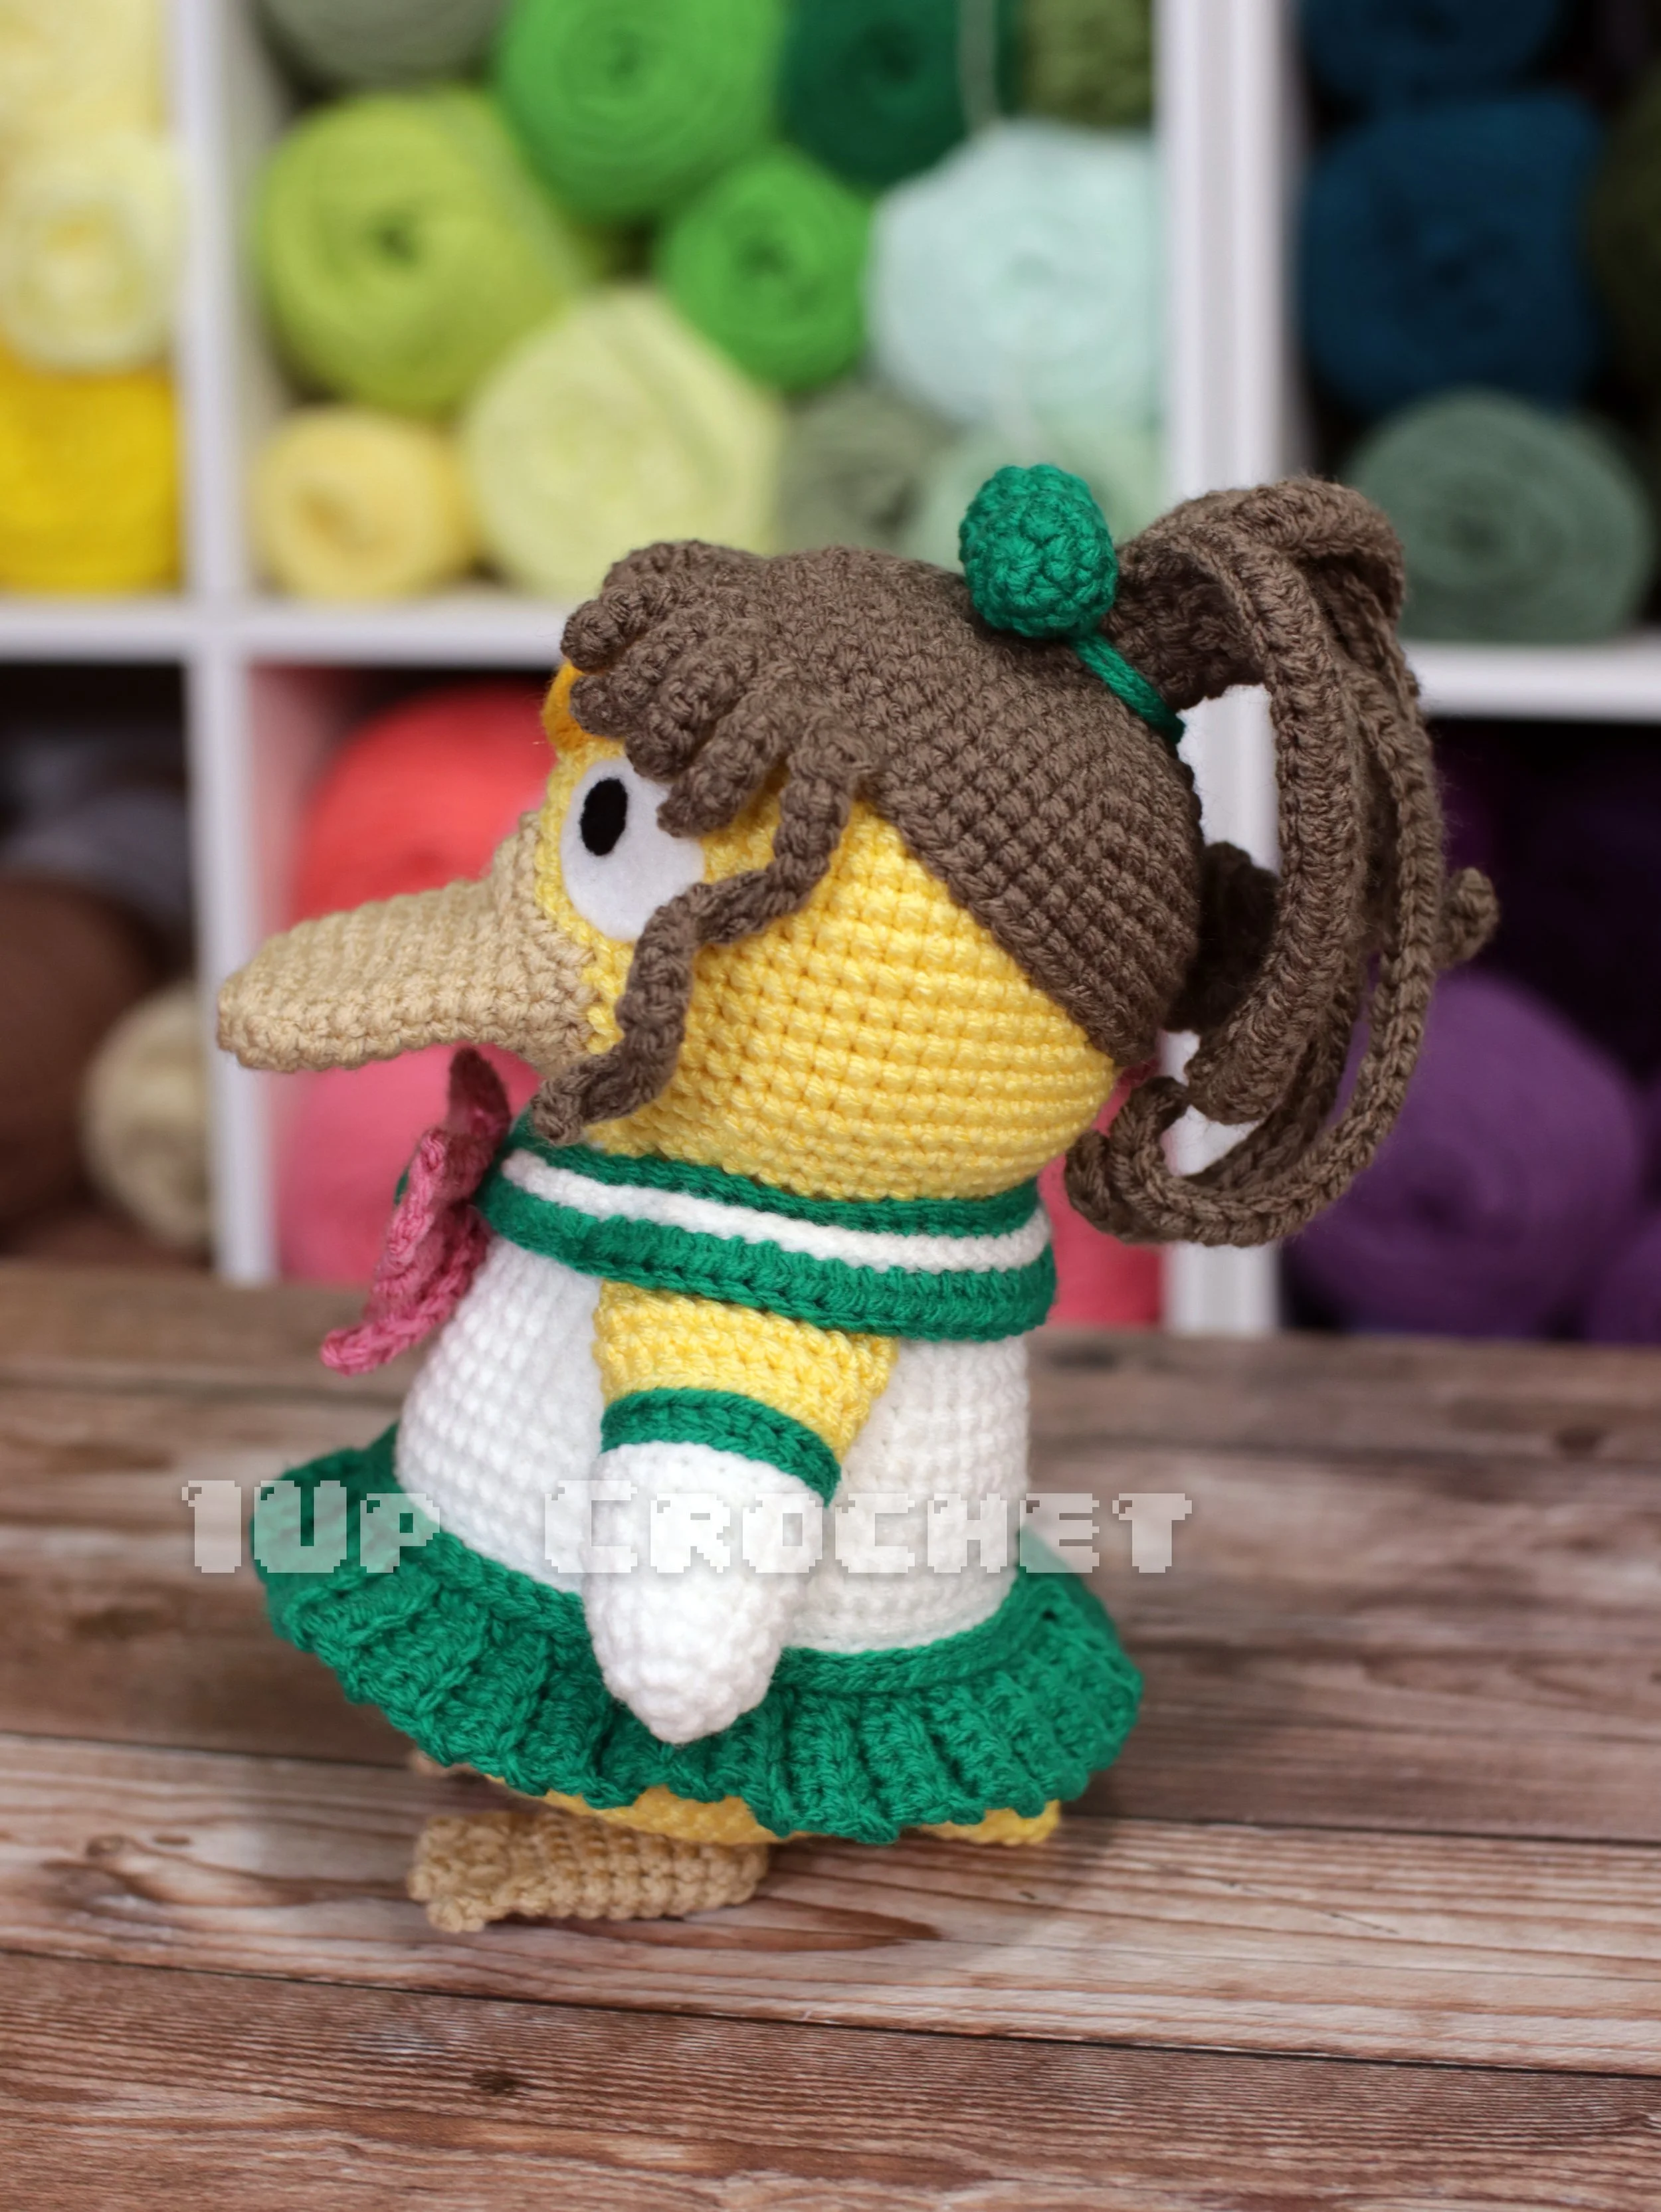
Jupiter Inspired Mod
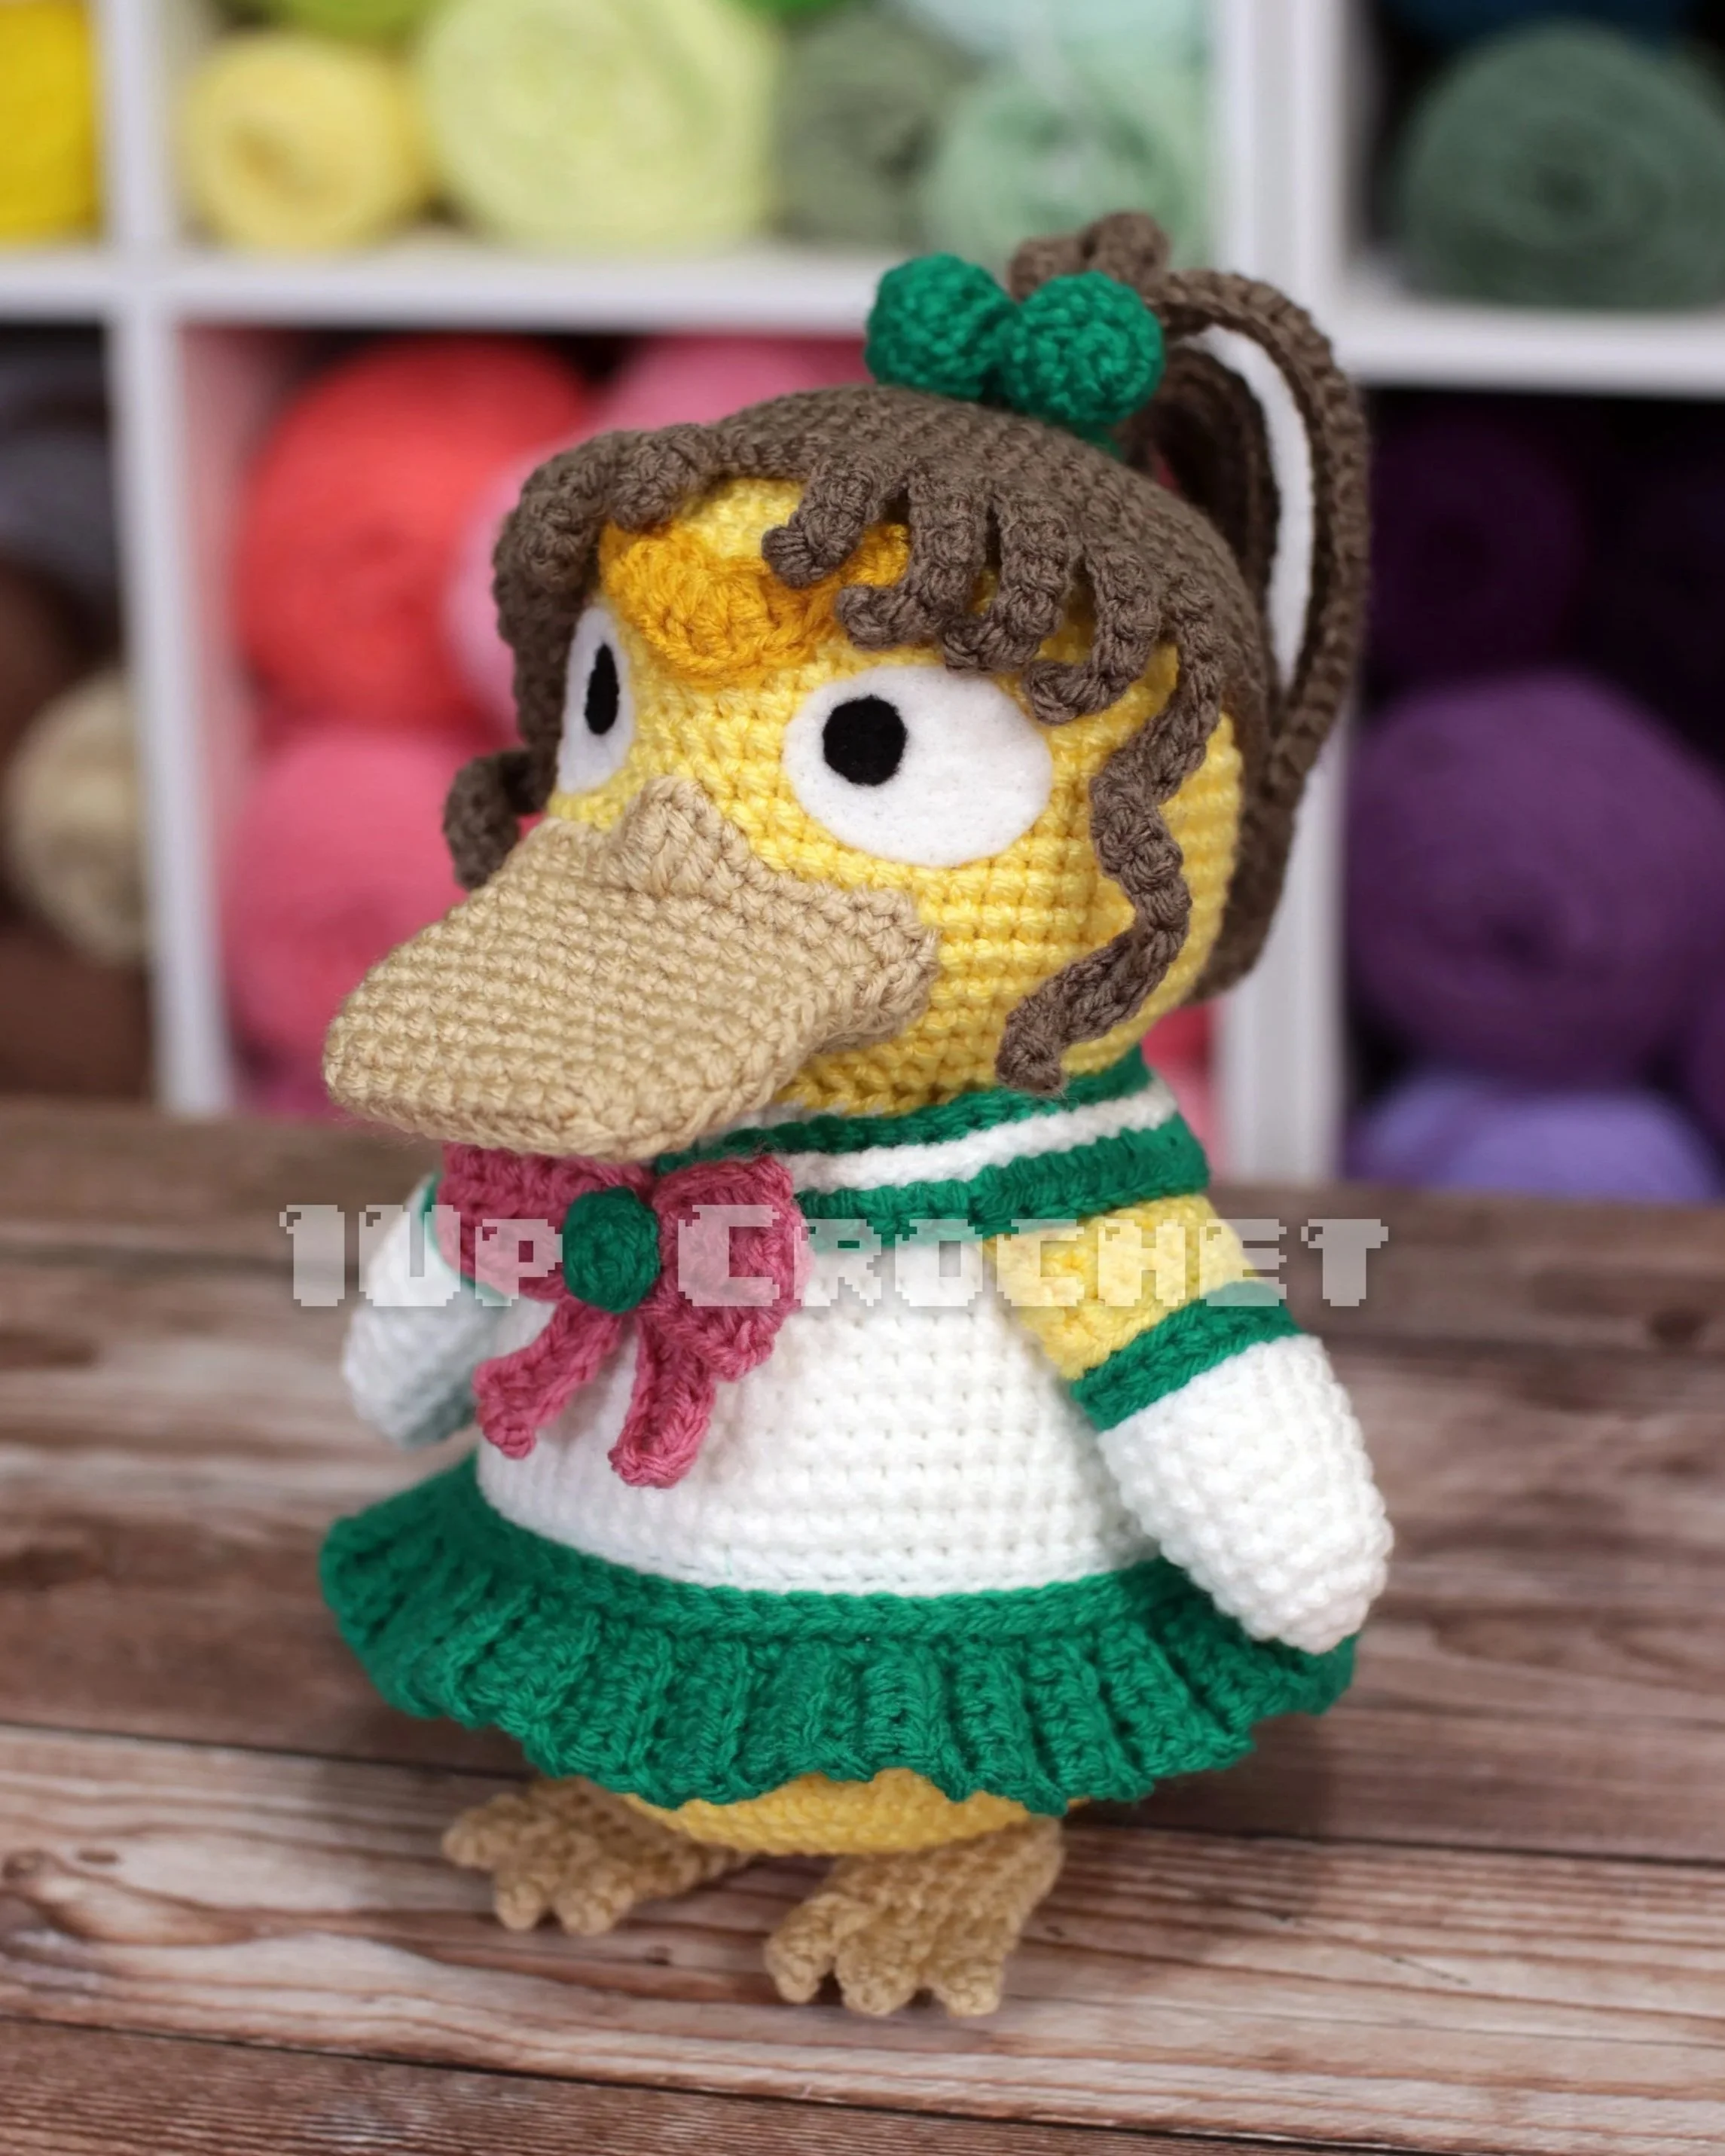
Work all parts of the pattern as written except the hair pieces.
Color Swaps
Alternate colors:
When making the Body, swap Blue for Green.
When making the Arms, swap Red for Green.
When making the Shirt Collar, swap Blue for Green.
When making the Skirt, swap Blue for Green.
When making the Bow Parts A and B, swap Red for Green.
When making Part C of the Bow, Swap Gold for Pink.
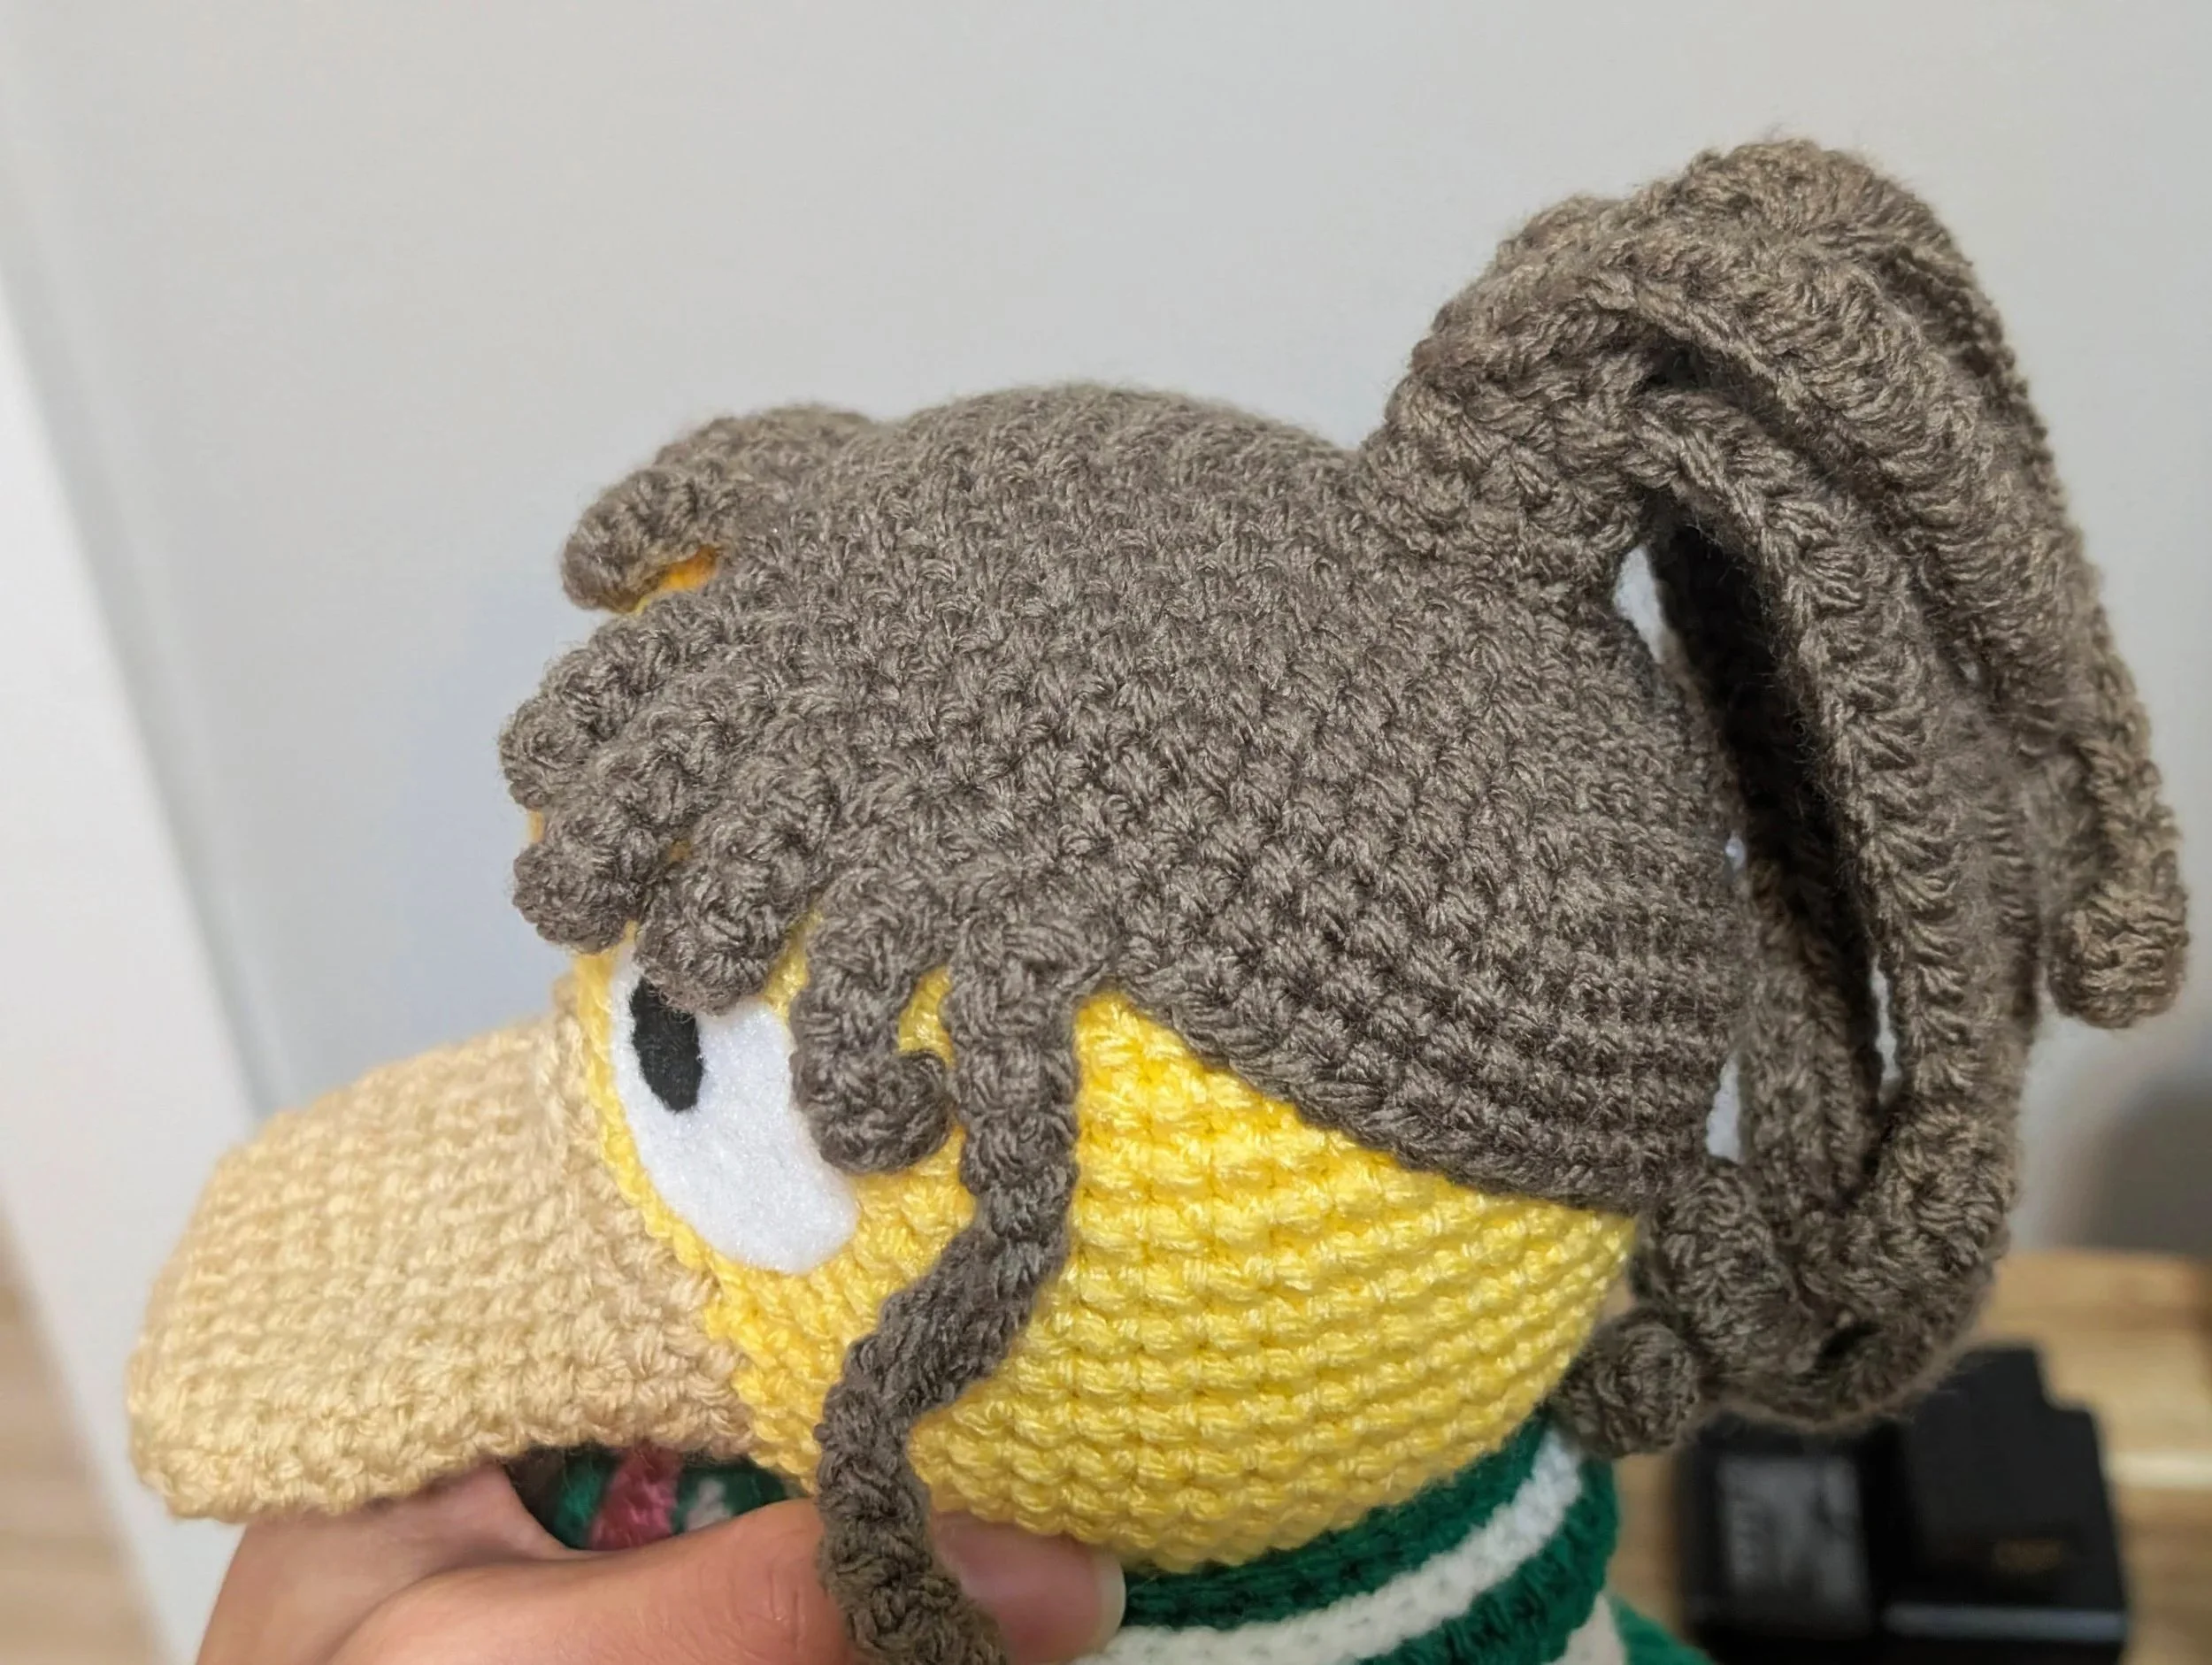
When making the Hair, use BROWN and follow the alternate pattern below.
Hair
Use Brown
Rnd 1) 7 sc in magic ring—7
Rnd 2) Inc in each sc around—14
Rnd 3) [1 sc, inc] 7 times—21
Rnd 4) [2 sc, inc] 7 times—28
Rnd 5) [3 sc, inc] 7 times—35
Rnd 6) [4 sc, inc] 7 times—42
Rnd 7) [5 sc, inc] 7 times—49
Rnd 8) [6 sc, inc] 7 times—56
Rnd 9 - Rnd 12) Sc in each sc around—56
Rnd 13) turn work, ch 21, work down ch: sc in each ch, sk next st on Rnd 12, sl st in next st;
ch 9, work down ch: sc in each ch, sk next st on Rnd 12, sl st in next st;
ch 8, work down ch: sc in each ch, sk next st on Rnd 12, sl st in next st;
ch 7, work down ch: sc in each ch, sk next st on Rnd 12, sl st in next st;
ch 6, work down ch: sc in each ch, sk next st on Rnd 12, sl st in next st;
sl st in next 3 sts,
ch 6, work down ch: sc in each ch, sk next st on Rnd 12, sl st in next st;
ch 7, work down ch: sc in each ch, sk next st on Rnd 12, sl st in next st;
ch 8, work down ch: sc in each ch, sk next st on Rnd 12, sl st in next st;
ch 9, work down ch: sc in each ch, sk next st on Rnd 12, sl st in next st;
ch 21, work down ch: sc in each ch, sk next st on Rnd 12, sl st in next st
Fasten off and leave a long tail for sewing.
Pony Tail
Use Brown.
Chain 12.
Join the ends of the ch with a sl st to form a ring.
Rnd 1) Sc in each ch around—12
Rnd 2) Sc in each sc around—12
Rnd 3) [ch 31: sc in 2nd ch from hook, hdc in each ch; sk next st on Rnd 2, sl st in next st] rep 6 times—6 long hair strands.
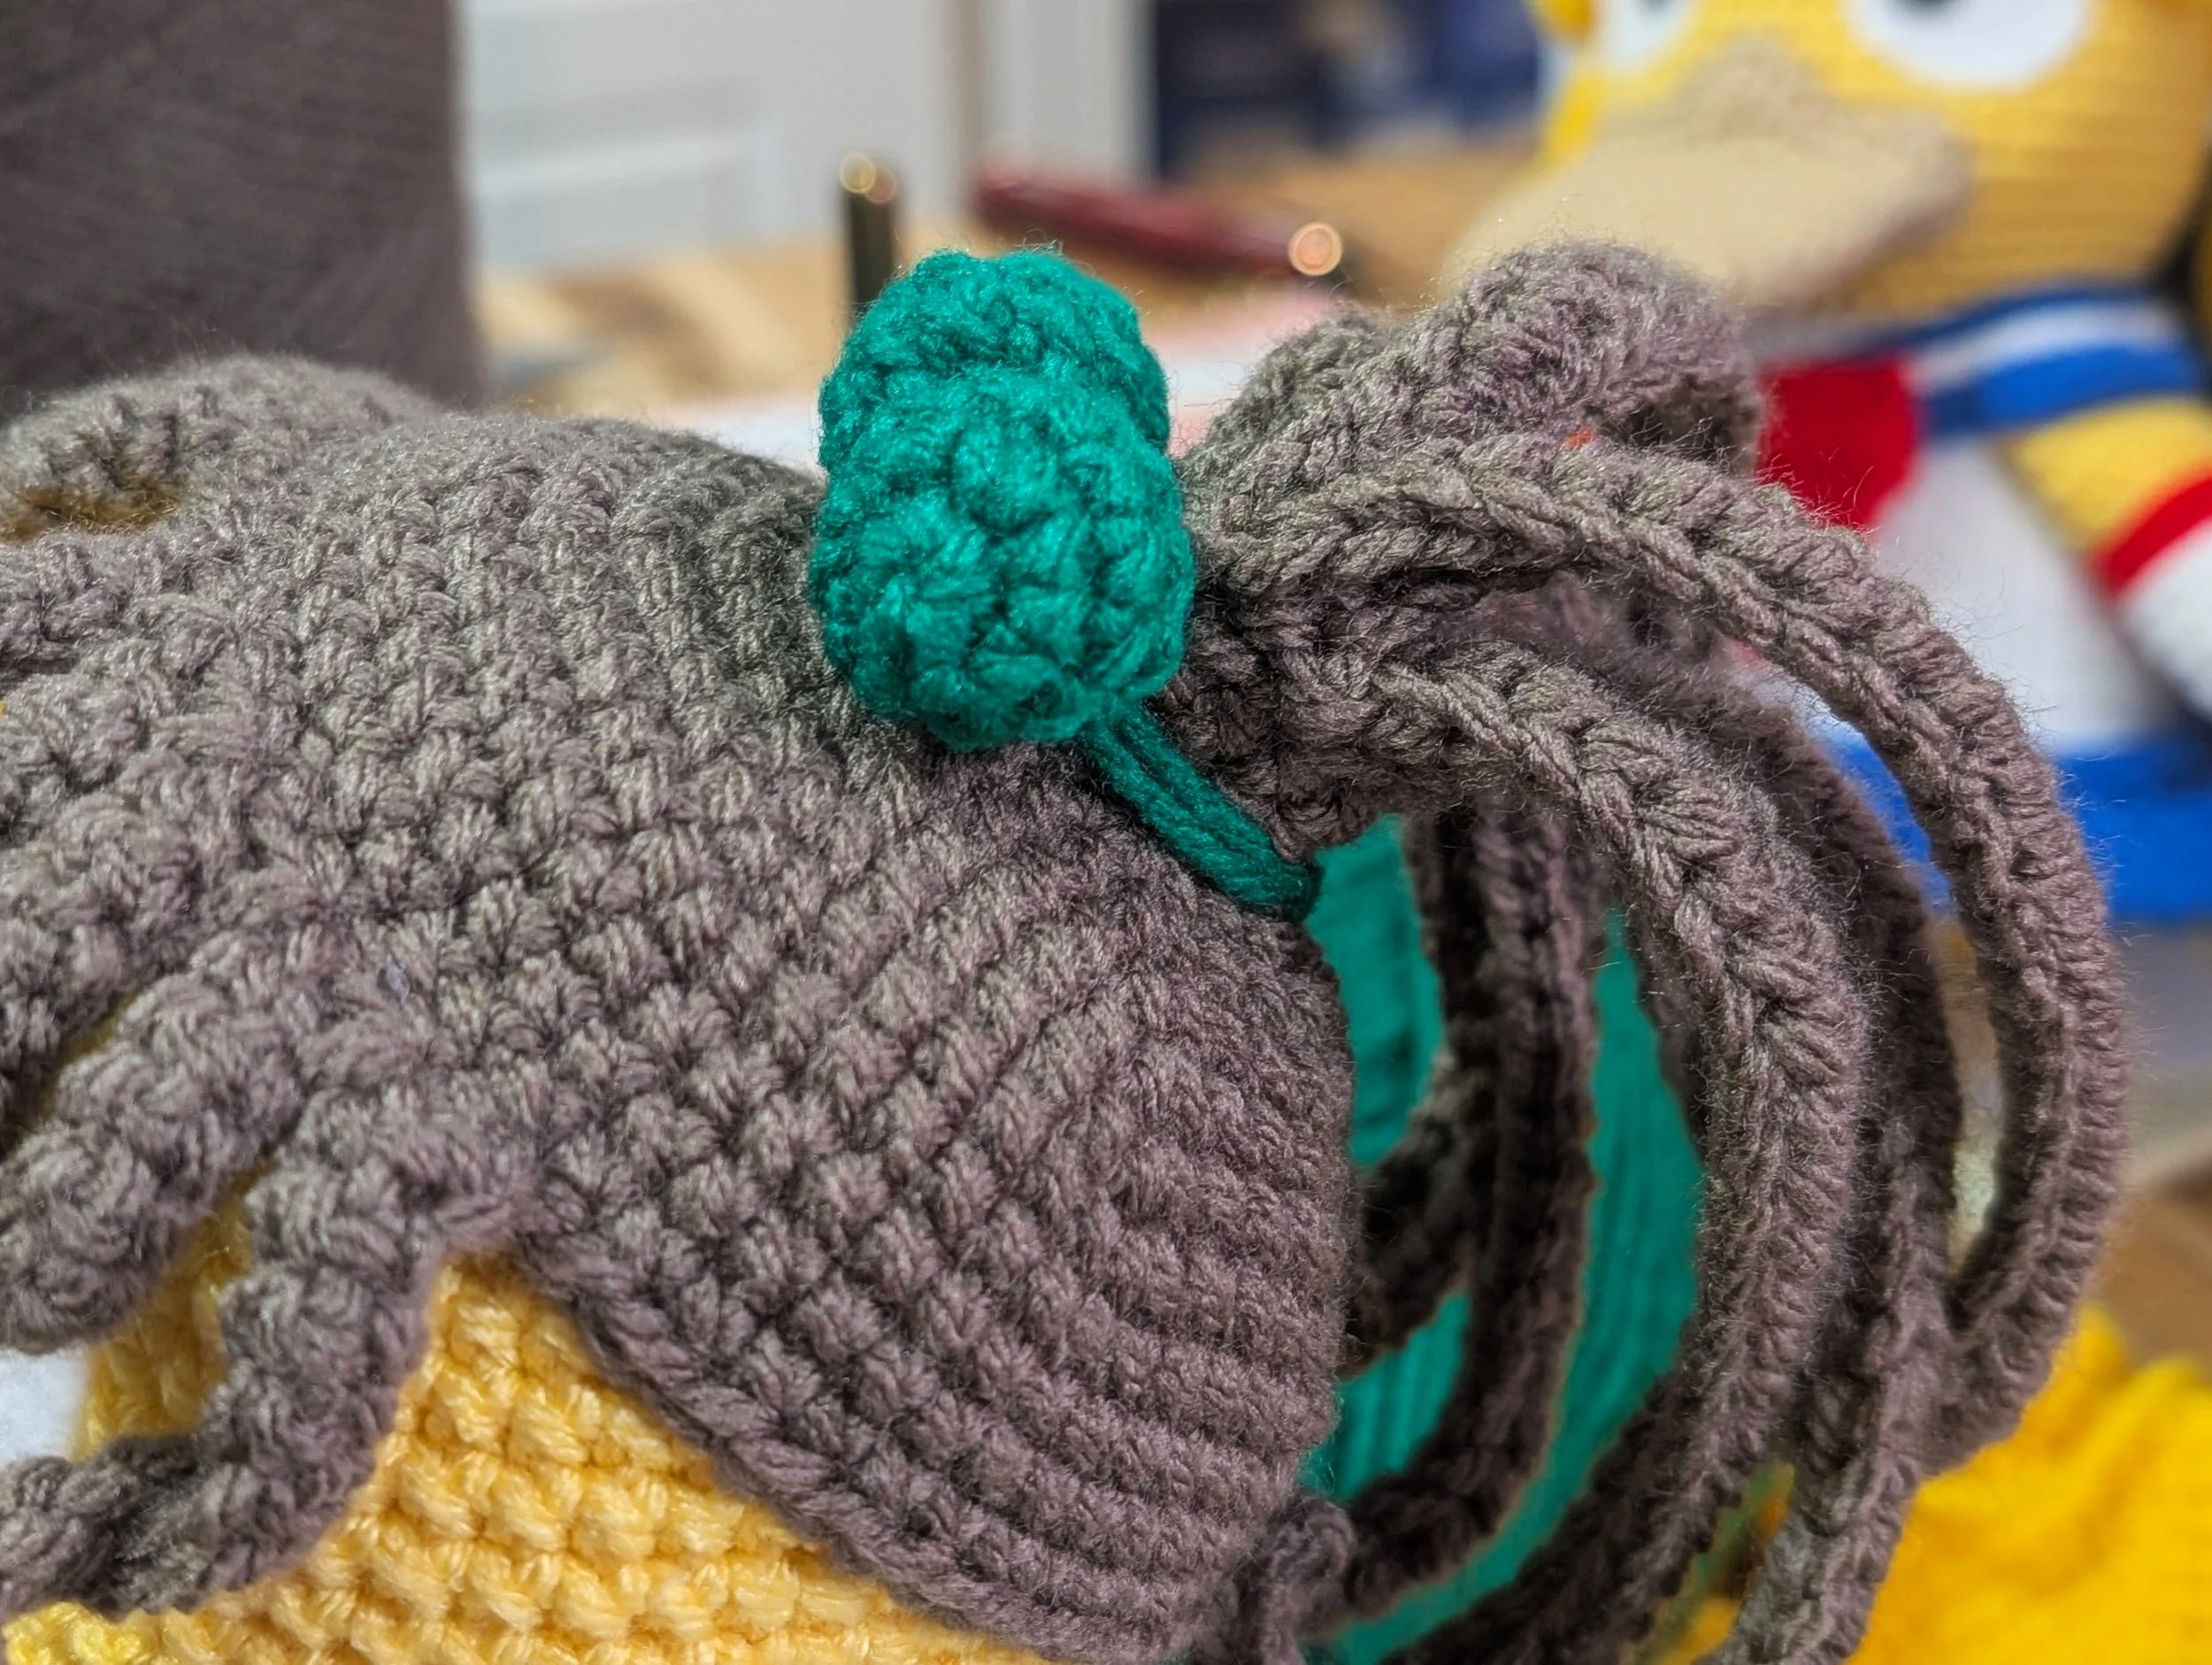
Hair Tie Beads (make 2)
Use green.
Rnd 1) 6 sc in magic ring—6
Rnd 2) inc in each sc around—12
Rnd 3) sc in each sc around—12
Rnd 4) sc in each sc around—12
Rnd 5) dec 6 times—6
Lightly Stuff if needed. Close off and leave a long tail for sewing.
Assembly
Sew the hair to the head as the instructions state.
Sew the ponytail on top of the hair piece around Rnd 2.
Using the tails of the Hair Beads, tie the beads together, then wrap the tails around the base of the ponytail and tie a knot to secure them.
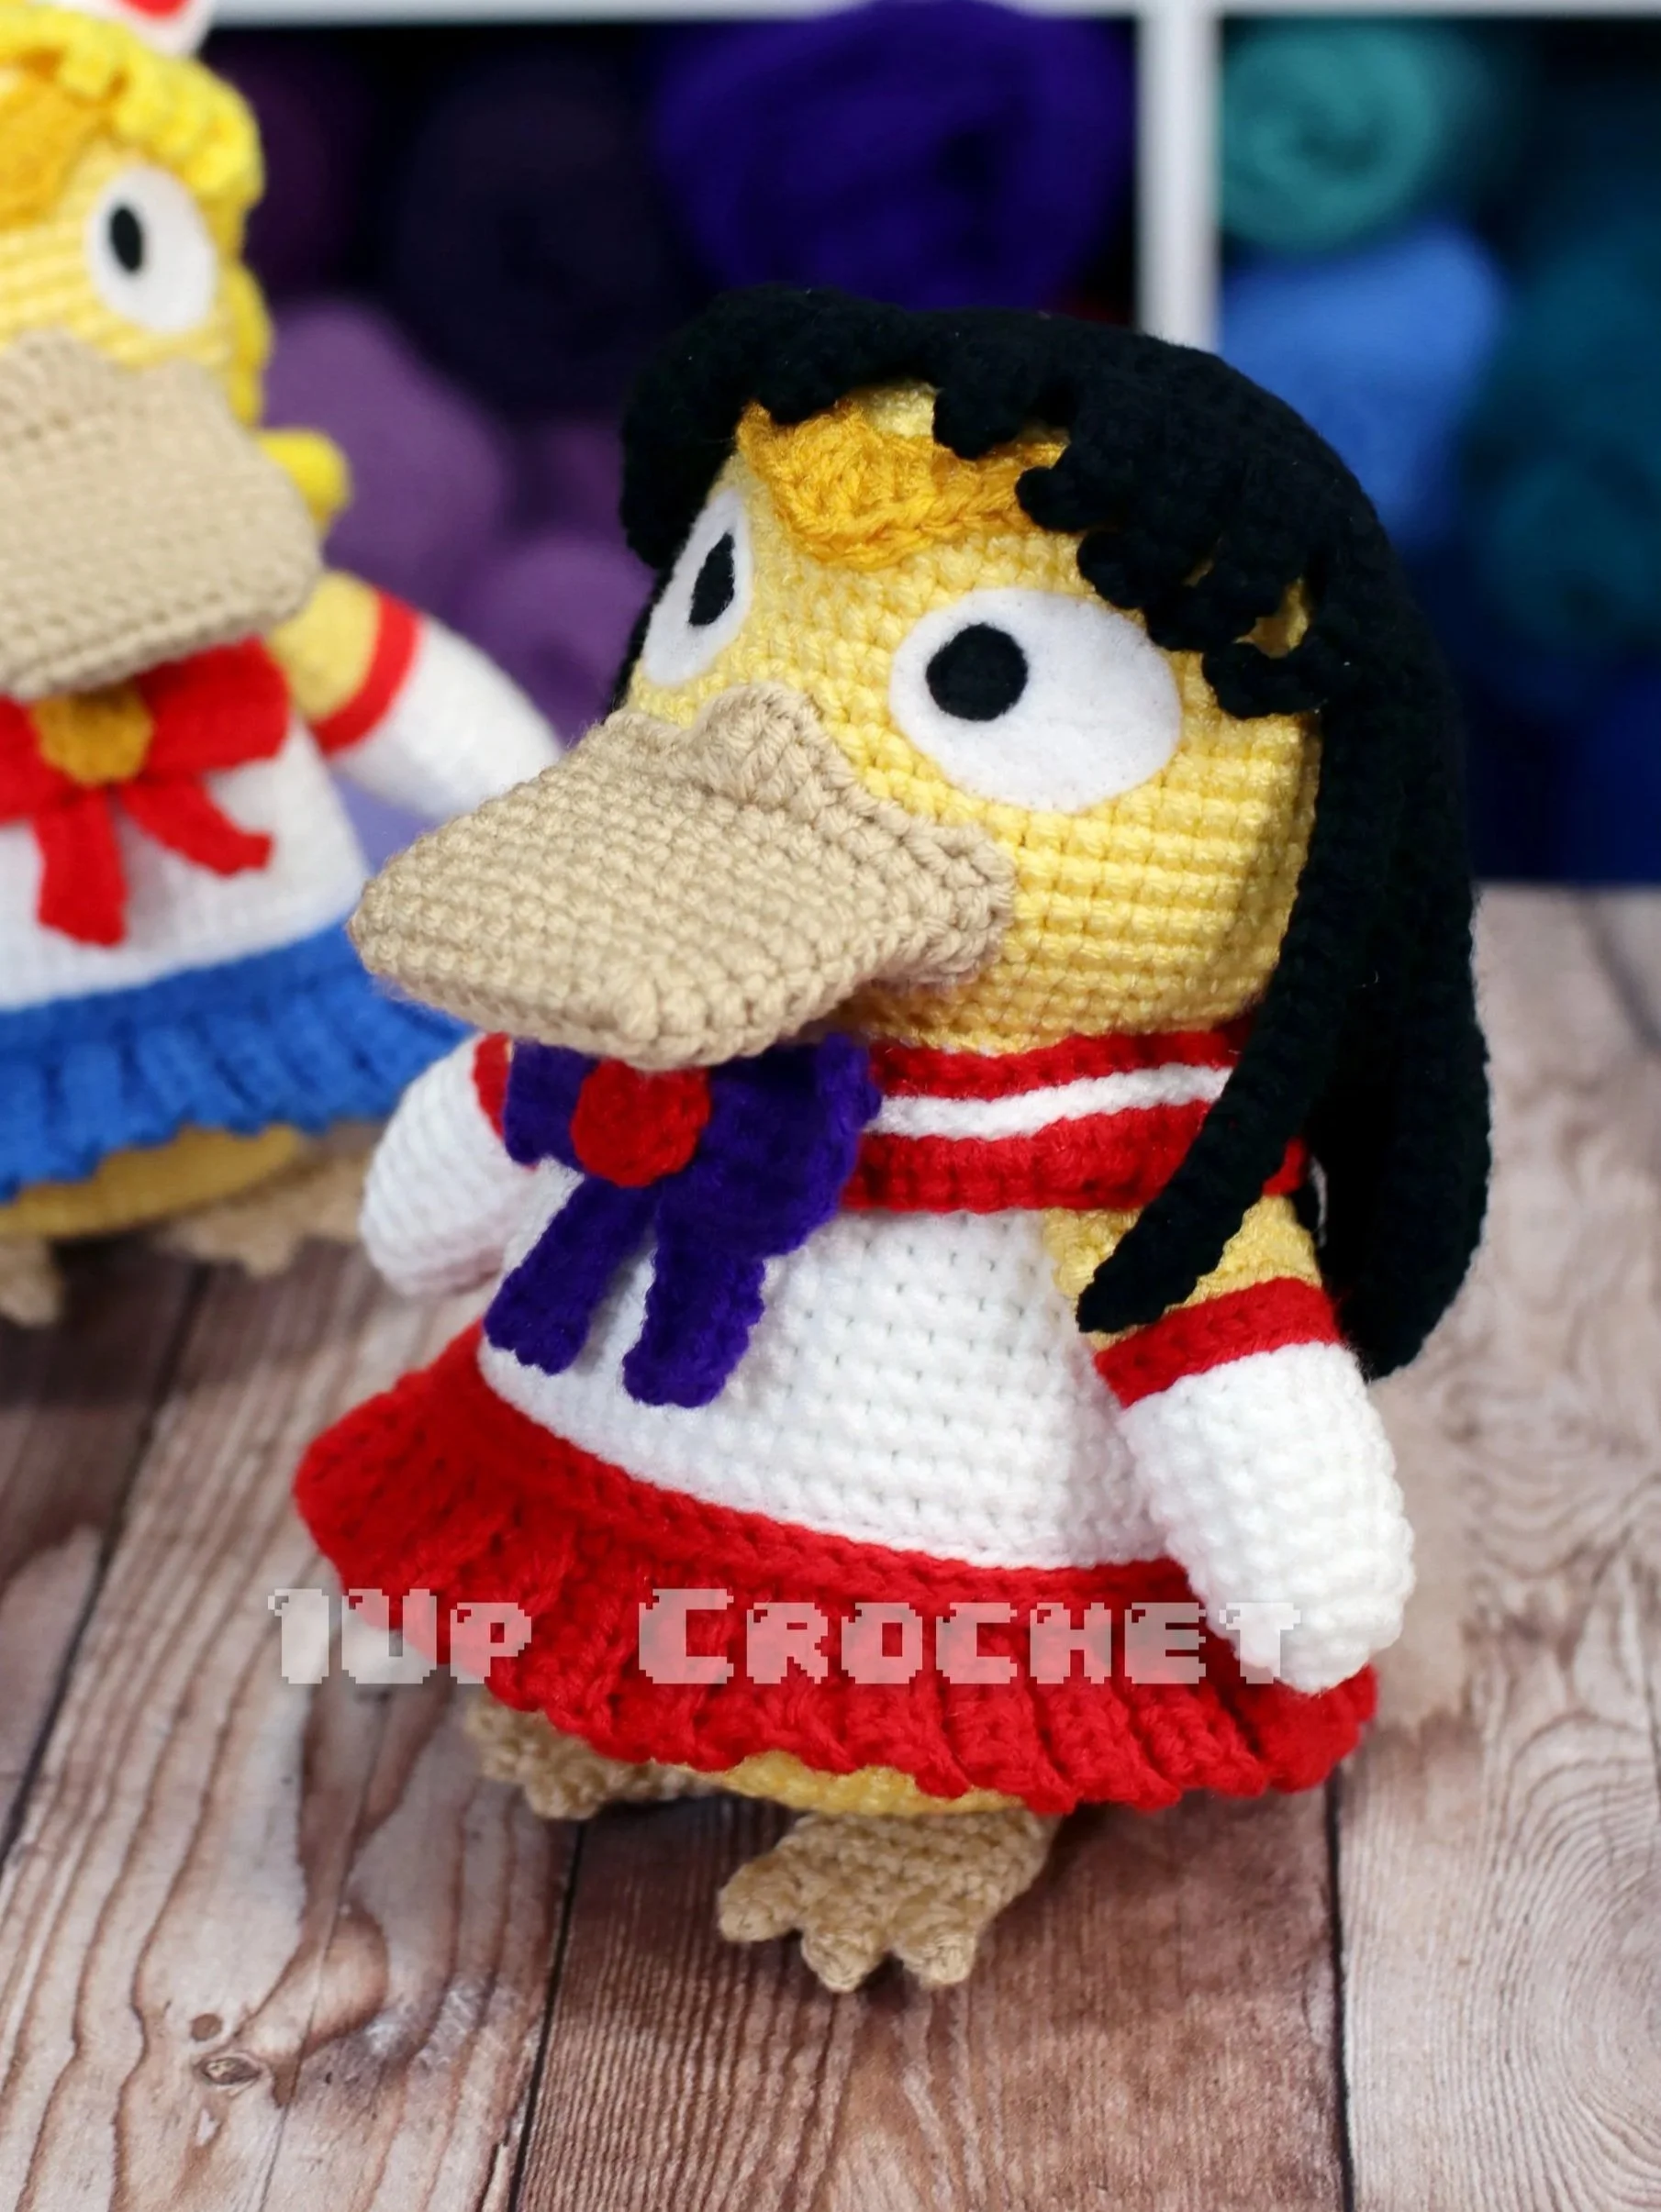
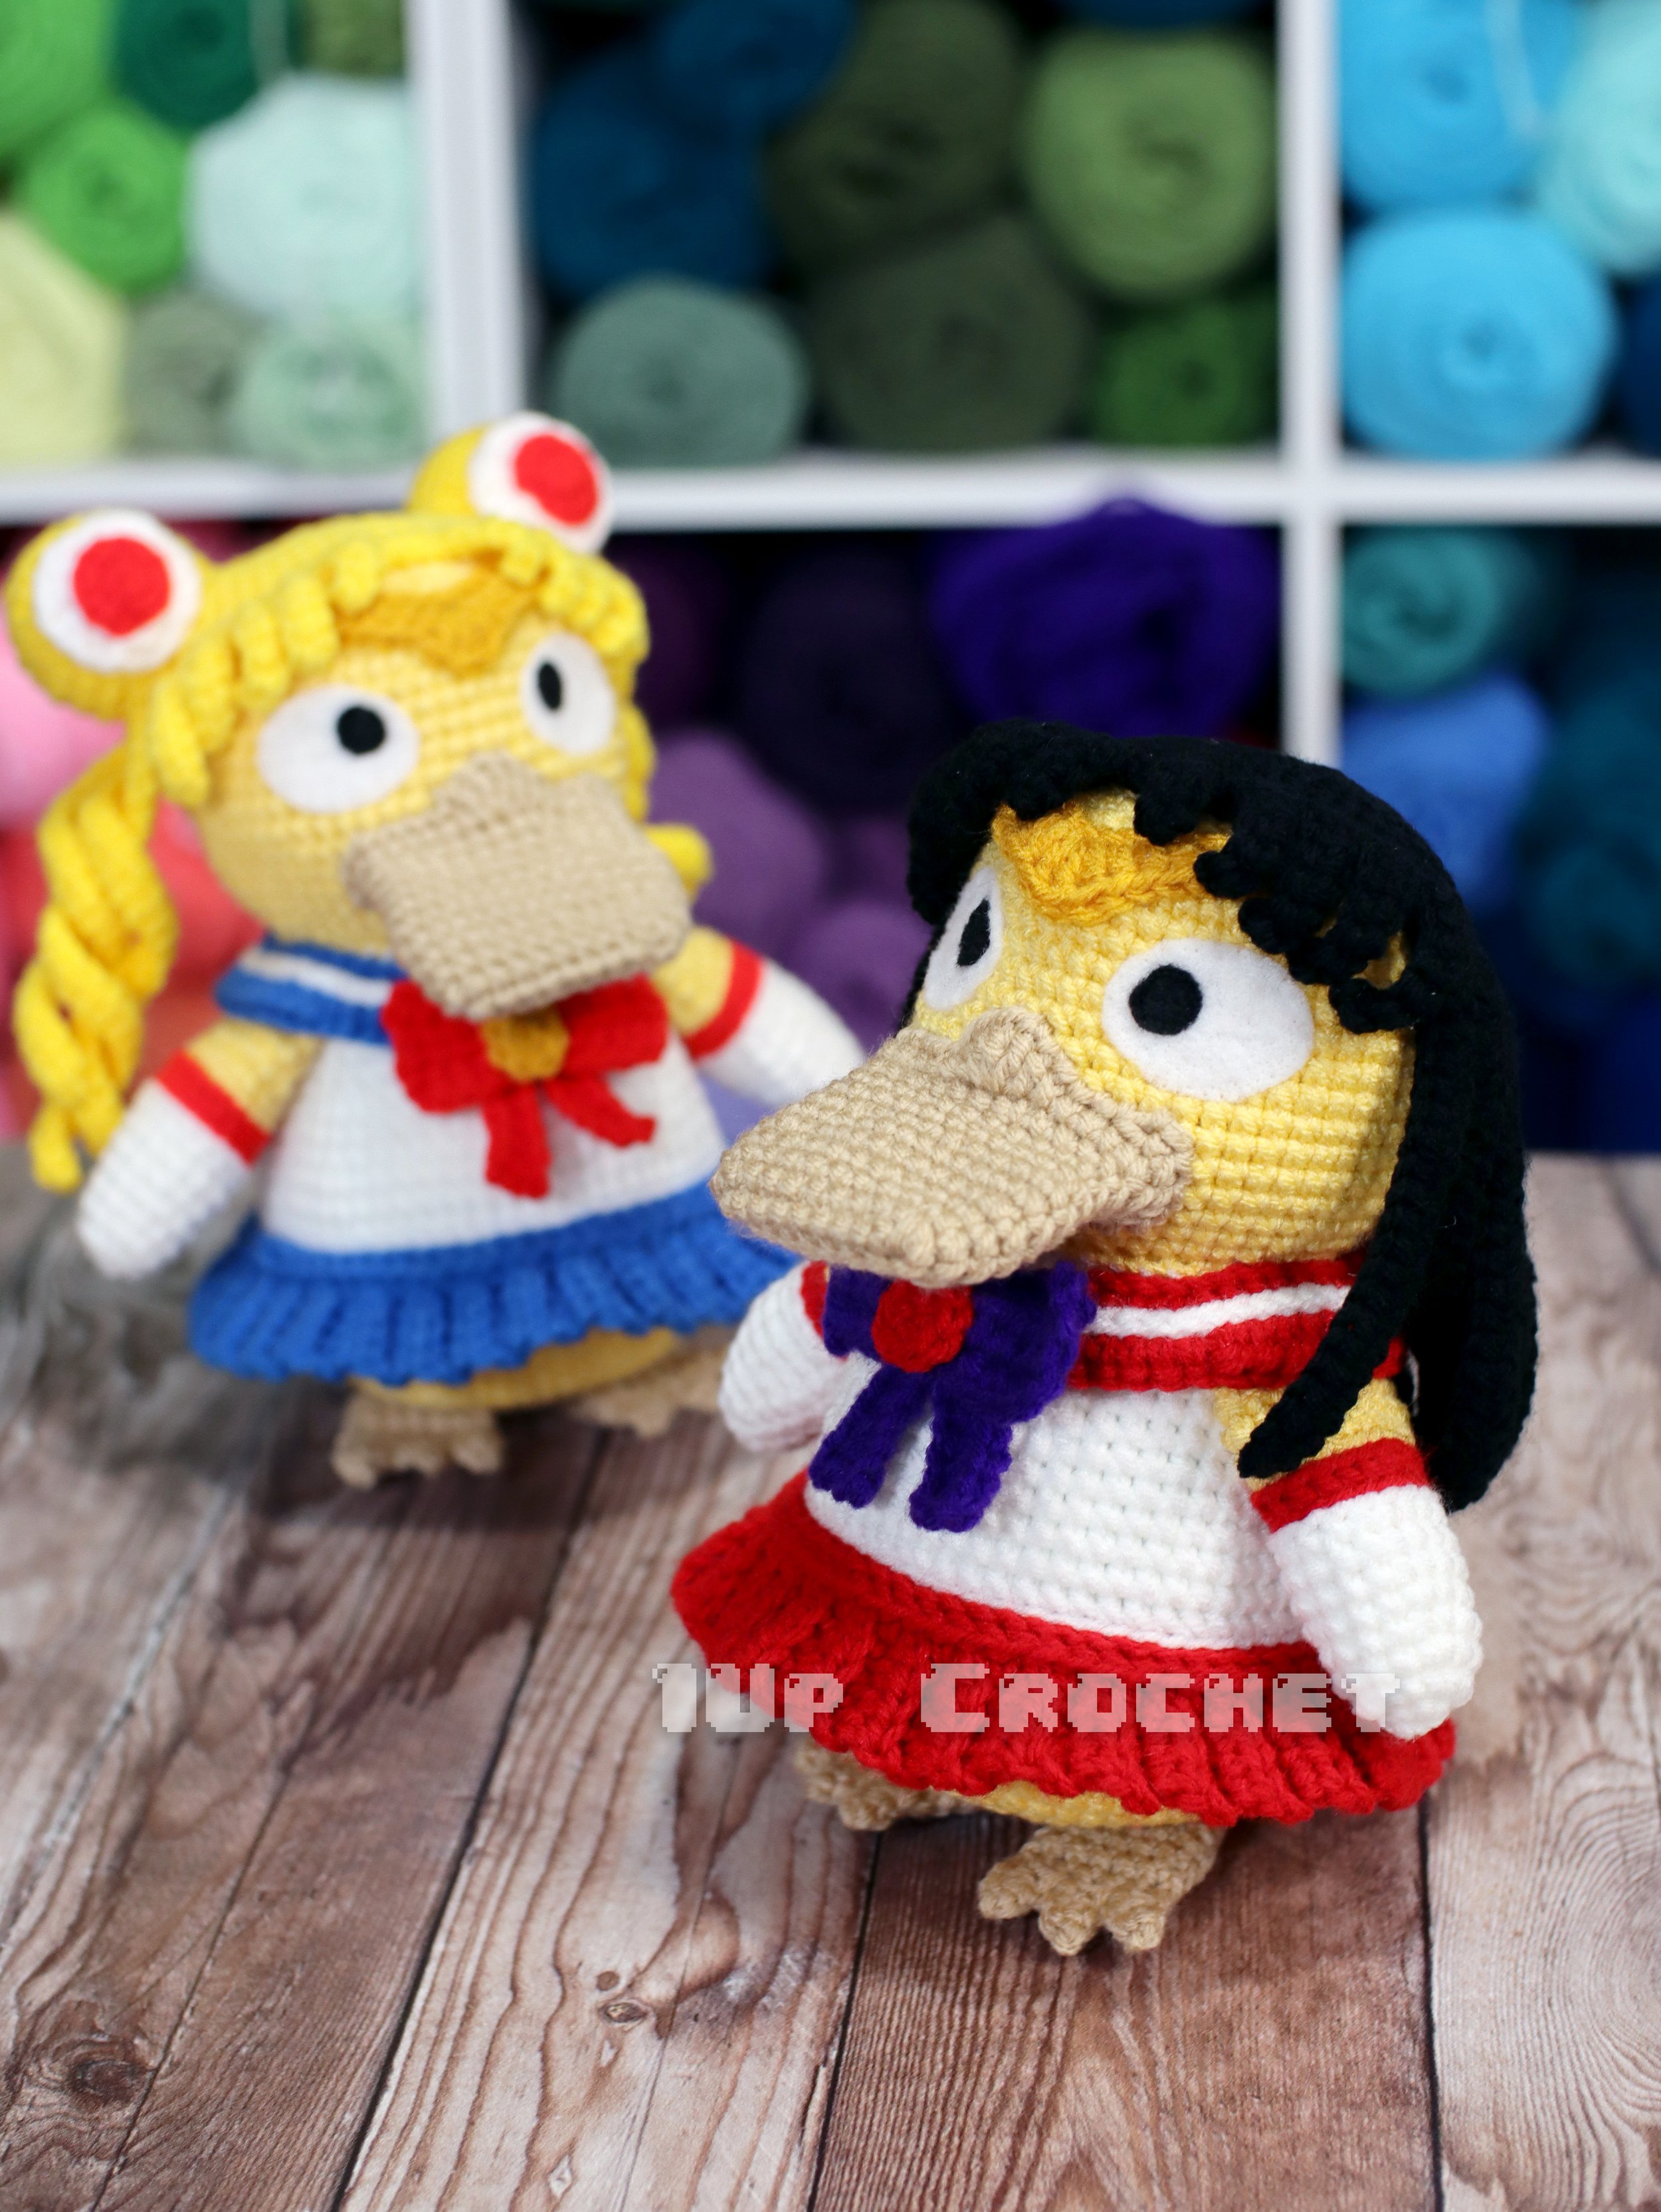
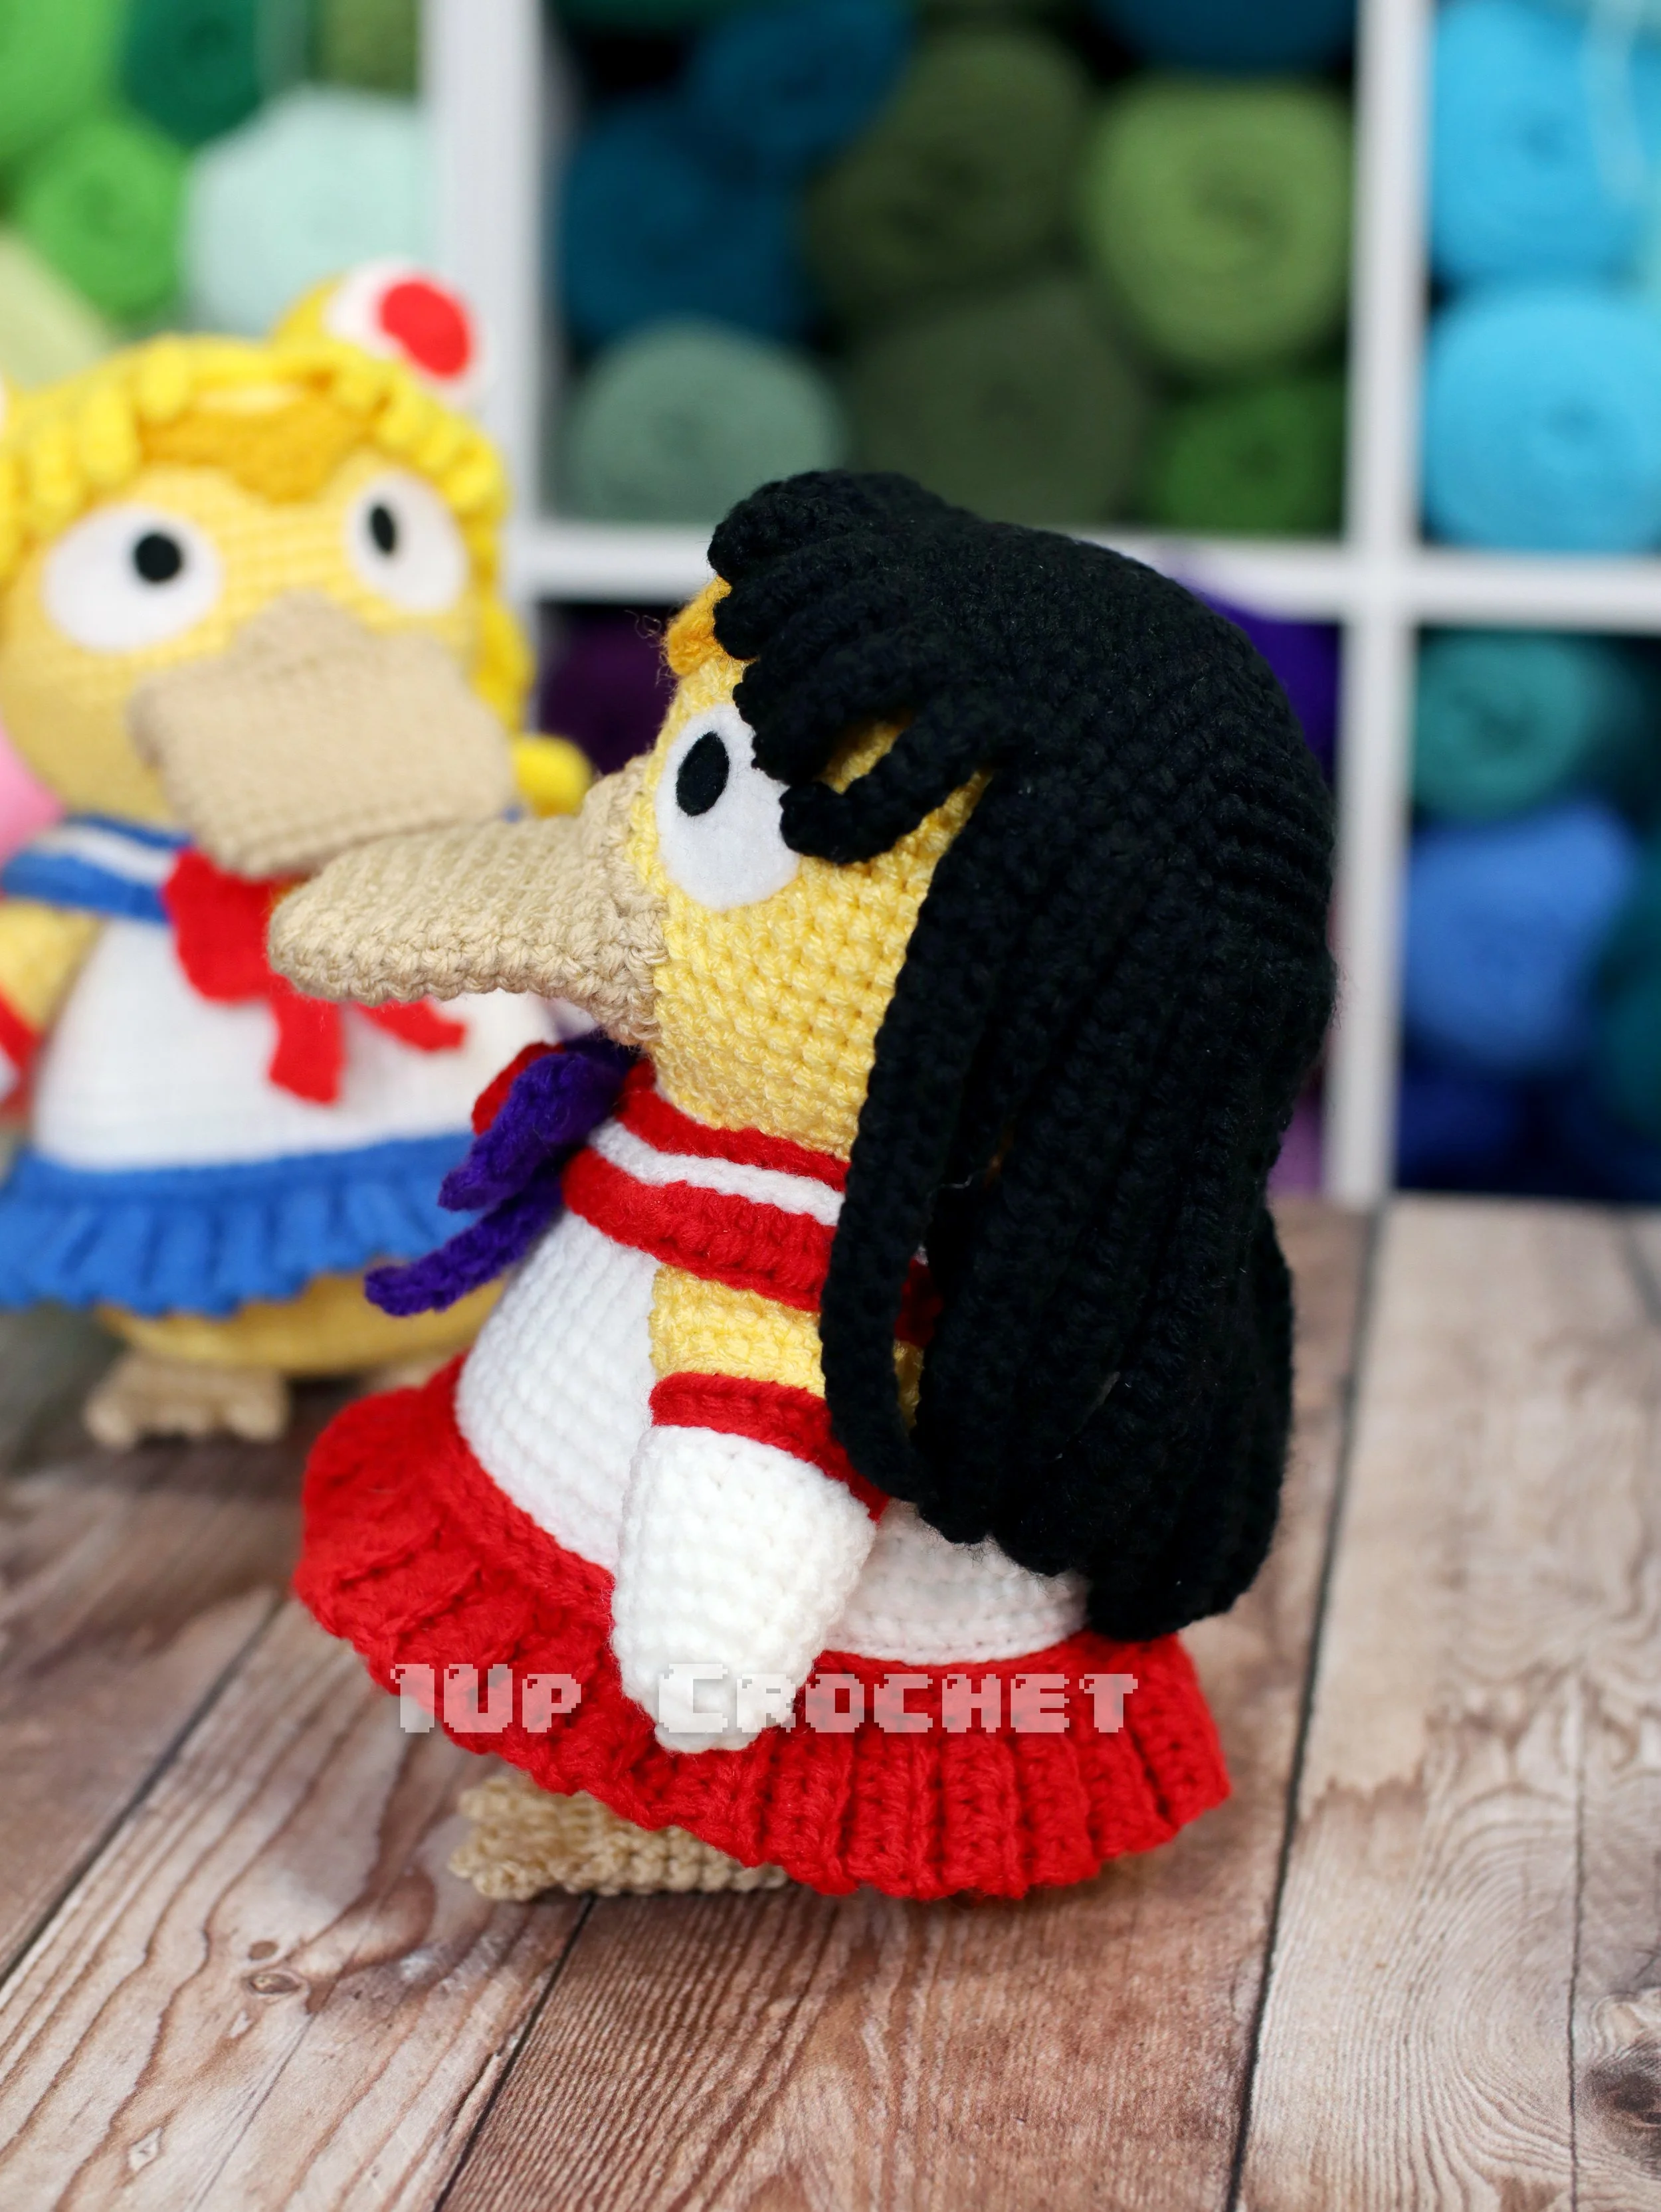
Mars Inspired Mod
Work all parts of the pattern as written except the hair pieces.
Color Swaps
Alternate colors:
When making the Body, swap Blue for RED.
When making the Shirt Collar, swap Blue for RED.
When making the Skirt, swap Blue for RED.
When making the Bow Parts A and B, swap Red for PURPLE.
When making Part C of the Bow, Swap Gold for RED.
When making the hair, use BLACK and follow the alternate pattern below:
Hair
Use BLACK.
Rnd 1) 7 sc in magic ring—7
Rnd 2) Inc in each sc around—14
Rnd 3) [1 sc, inc] 7 times—21
Rnd 4) [2 sc, inc] 7 times—28
Rnd 5) [3 sc, inc] 7 times—35
Rnd 6) [4 sc, inc] 7 times—42
Rnd 7) [5 sc, inc] 7 times—49
Rnd 8) [6 sc, inc] 7 times—56
Rnd 9 - Rnd 10) Sc in each sc around—56
Rnd 11) ch 9, work down the ch: sc in each ch st; skip next sc st on Row 10, sl st in next st,
ch 9, work down the ch: sc in each ch st; skip next sc st on Row 10, sl st in next st,
ch 8, work down the ch: sc in each ch st; skip next sc st on Row 10, sl st in next st,
ch 6, work down the ch: sc in each ch st; skip next sc st on Row 10, sl st in next st
ch 6, work down the ch: sc in each ch st; skip next sc st on Row 10, sl st in next st,
sl st in next 3 sts on row 10
ch 6, work down the ch: sc in each ch st; skip next sc st on Row 10, sl st in next st
ch 7, work down the ch: sc in each ch st; skip next sc st on Row 10, sl st in next st
ch 8, work down the ch: sc in each ch st; skip next sc st on Row 10, sl st in next st
ch 9, work down the ch: sc in each ch st; skip next sc st on Row 10, sl st in next st
ch 9, work down the ch: sc in each ch st; skip next sc st on Row 10, sl st in next st
Now we will make 16 long hair strands:
[ch 23, work down the ch: sc in 2nd ch from hook, hdc in each chain st; skip next sc st on Row 10, sl st in next st] 16 times
Fasten off. Leave a long tail for sewing.
Assembly
Sew or glue the hairpiece to the top of the head.
Tip: To keep the long hair strands in place and conform to the back of the head, I placed small dabs of hot glue under the hair strands and pressed them into place against the head. If you find that the long hair strands are too curly, you can try making them with a slightly larger hook. Pull them and press them flat with your fingers.
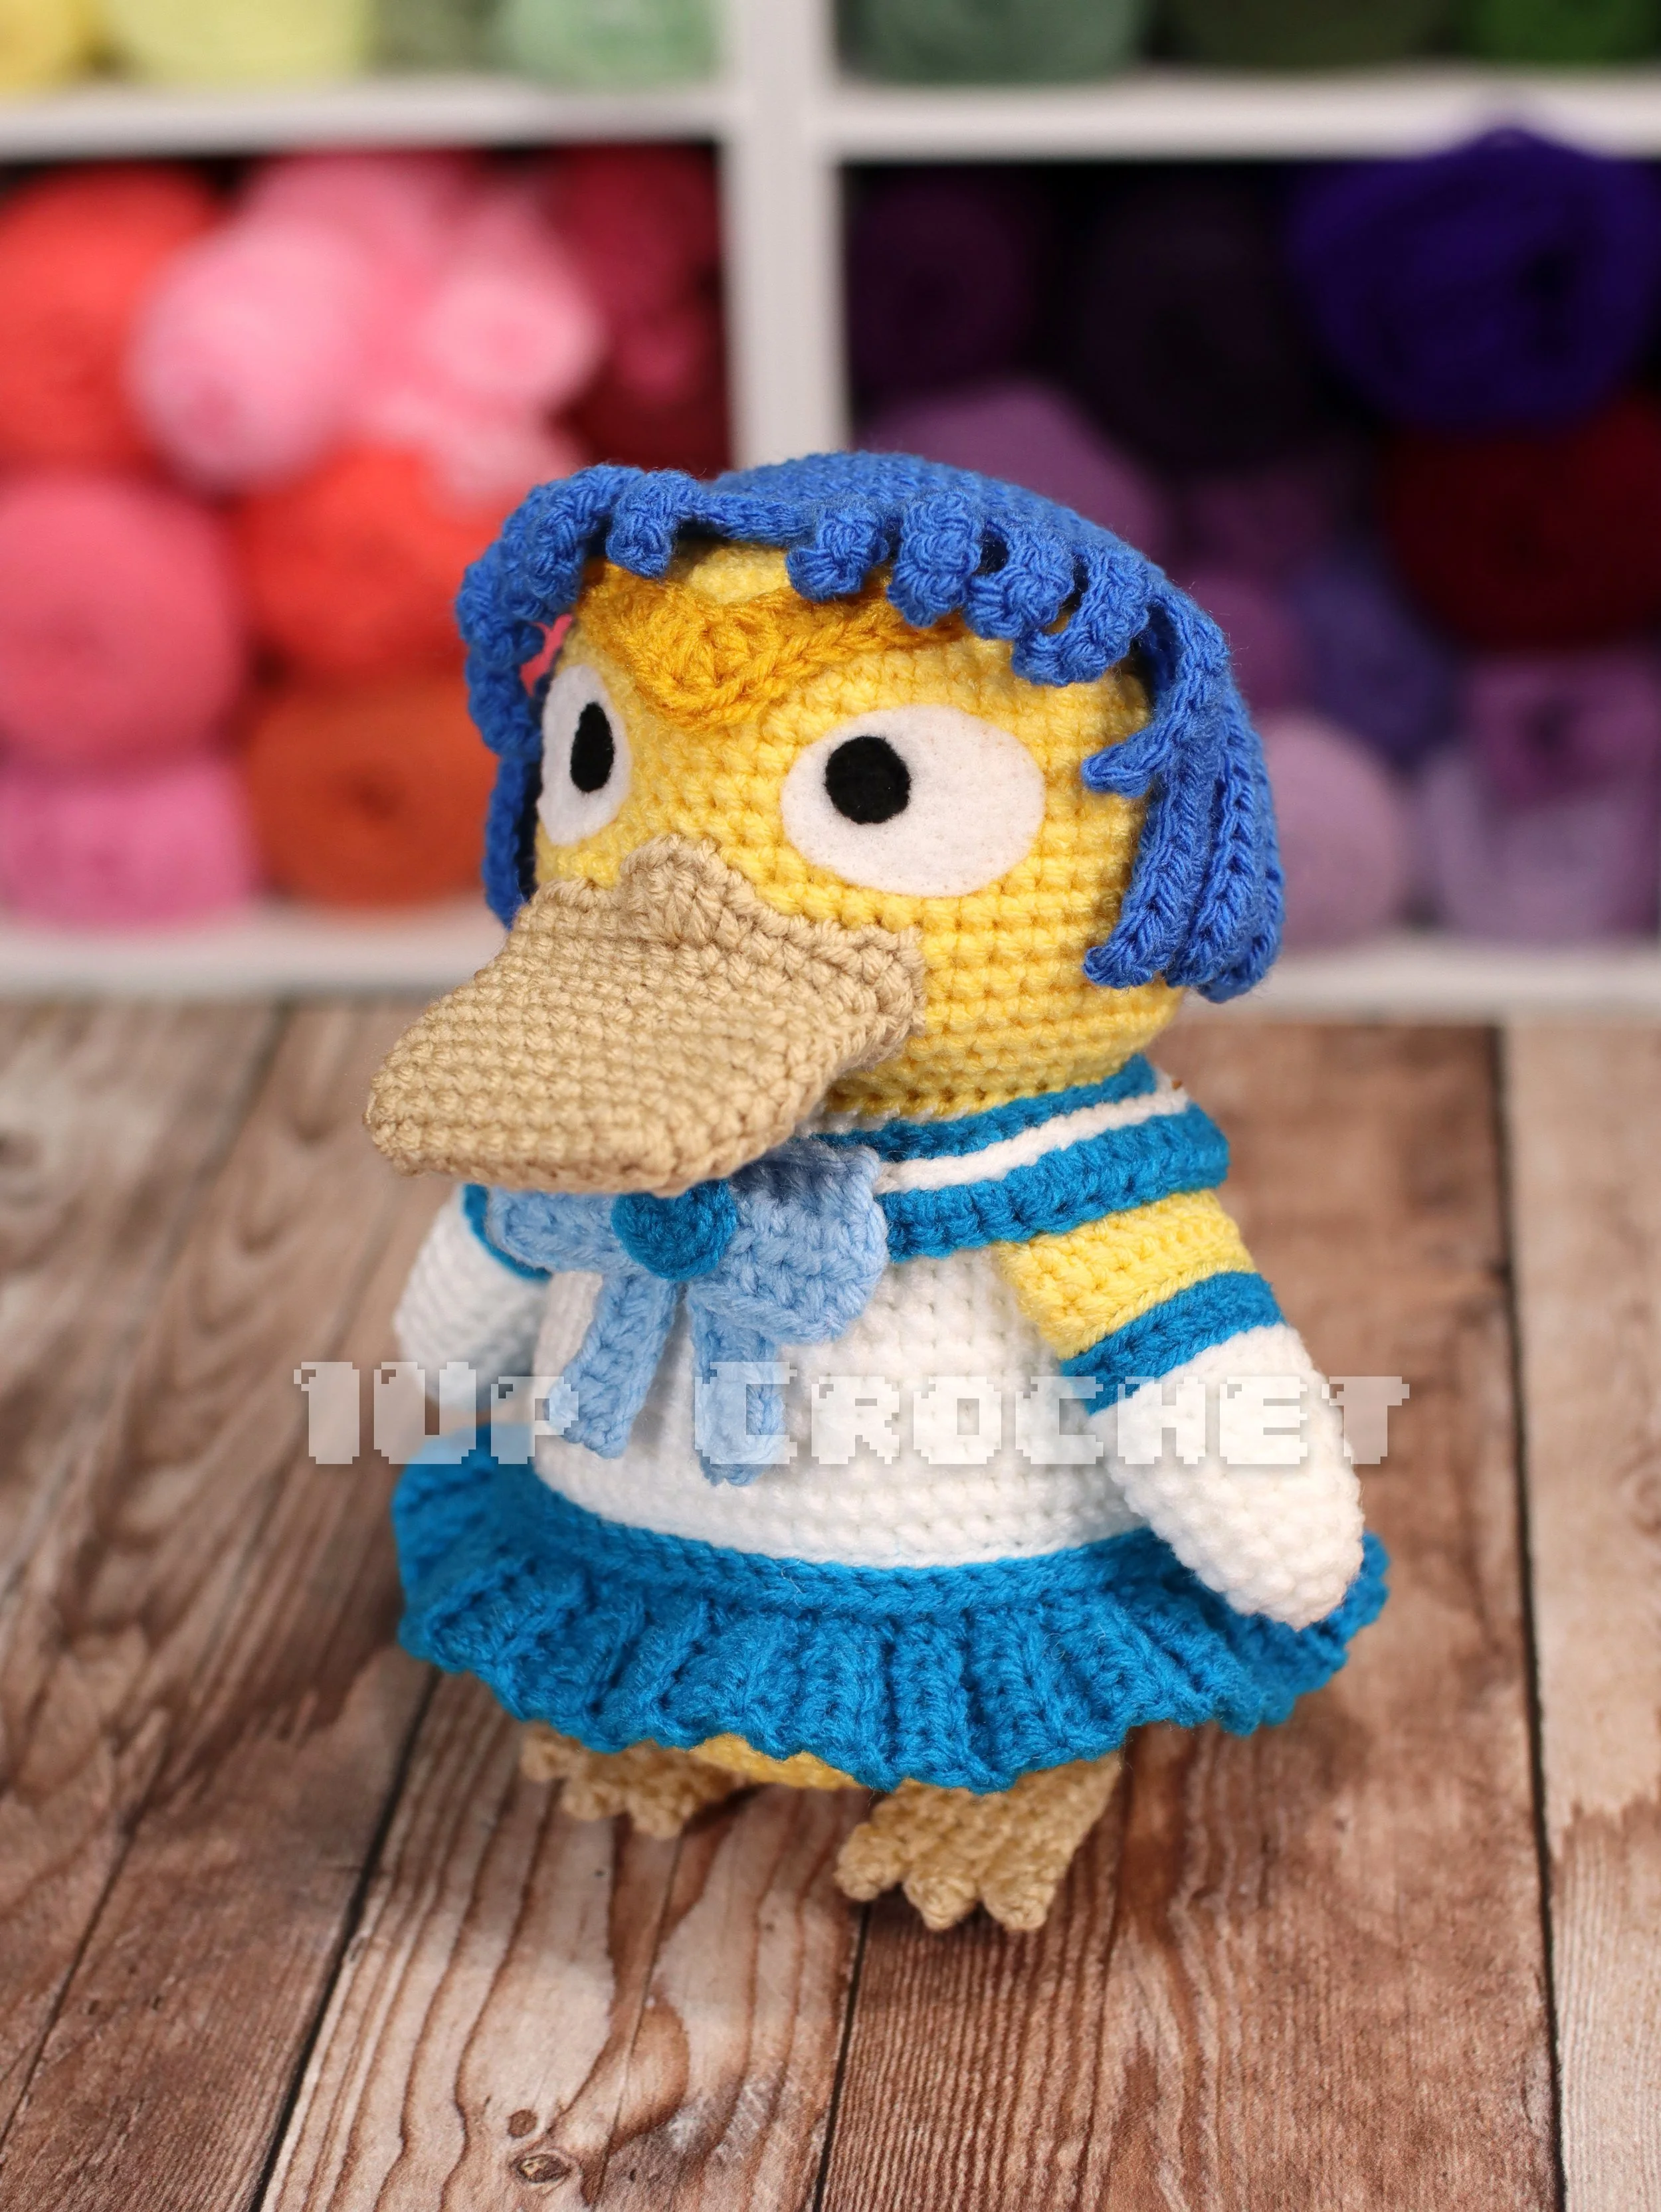
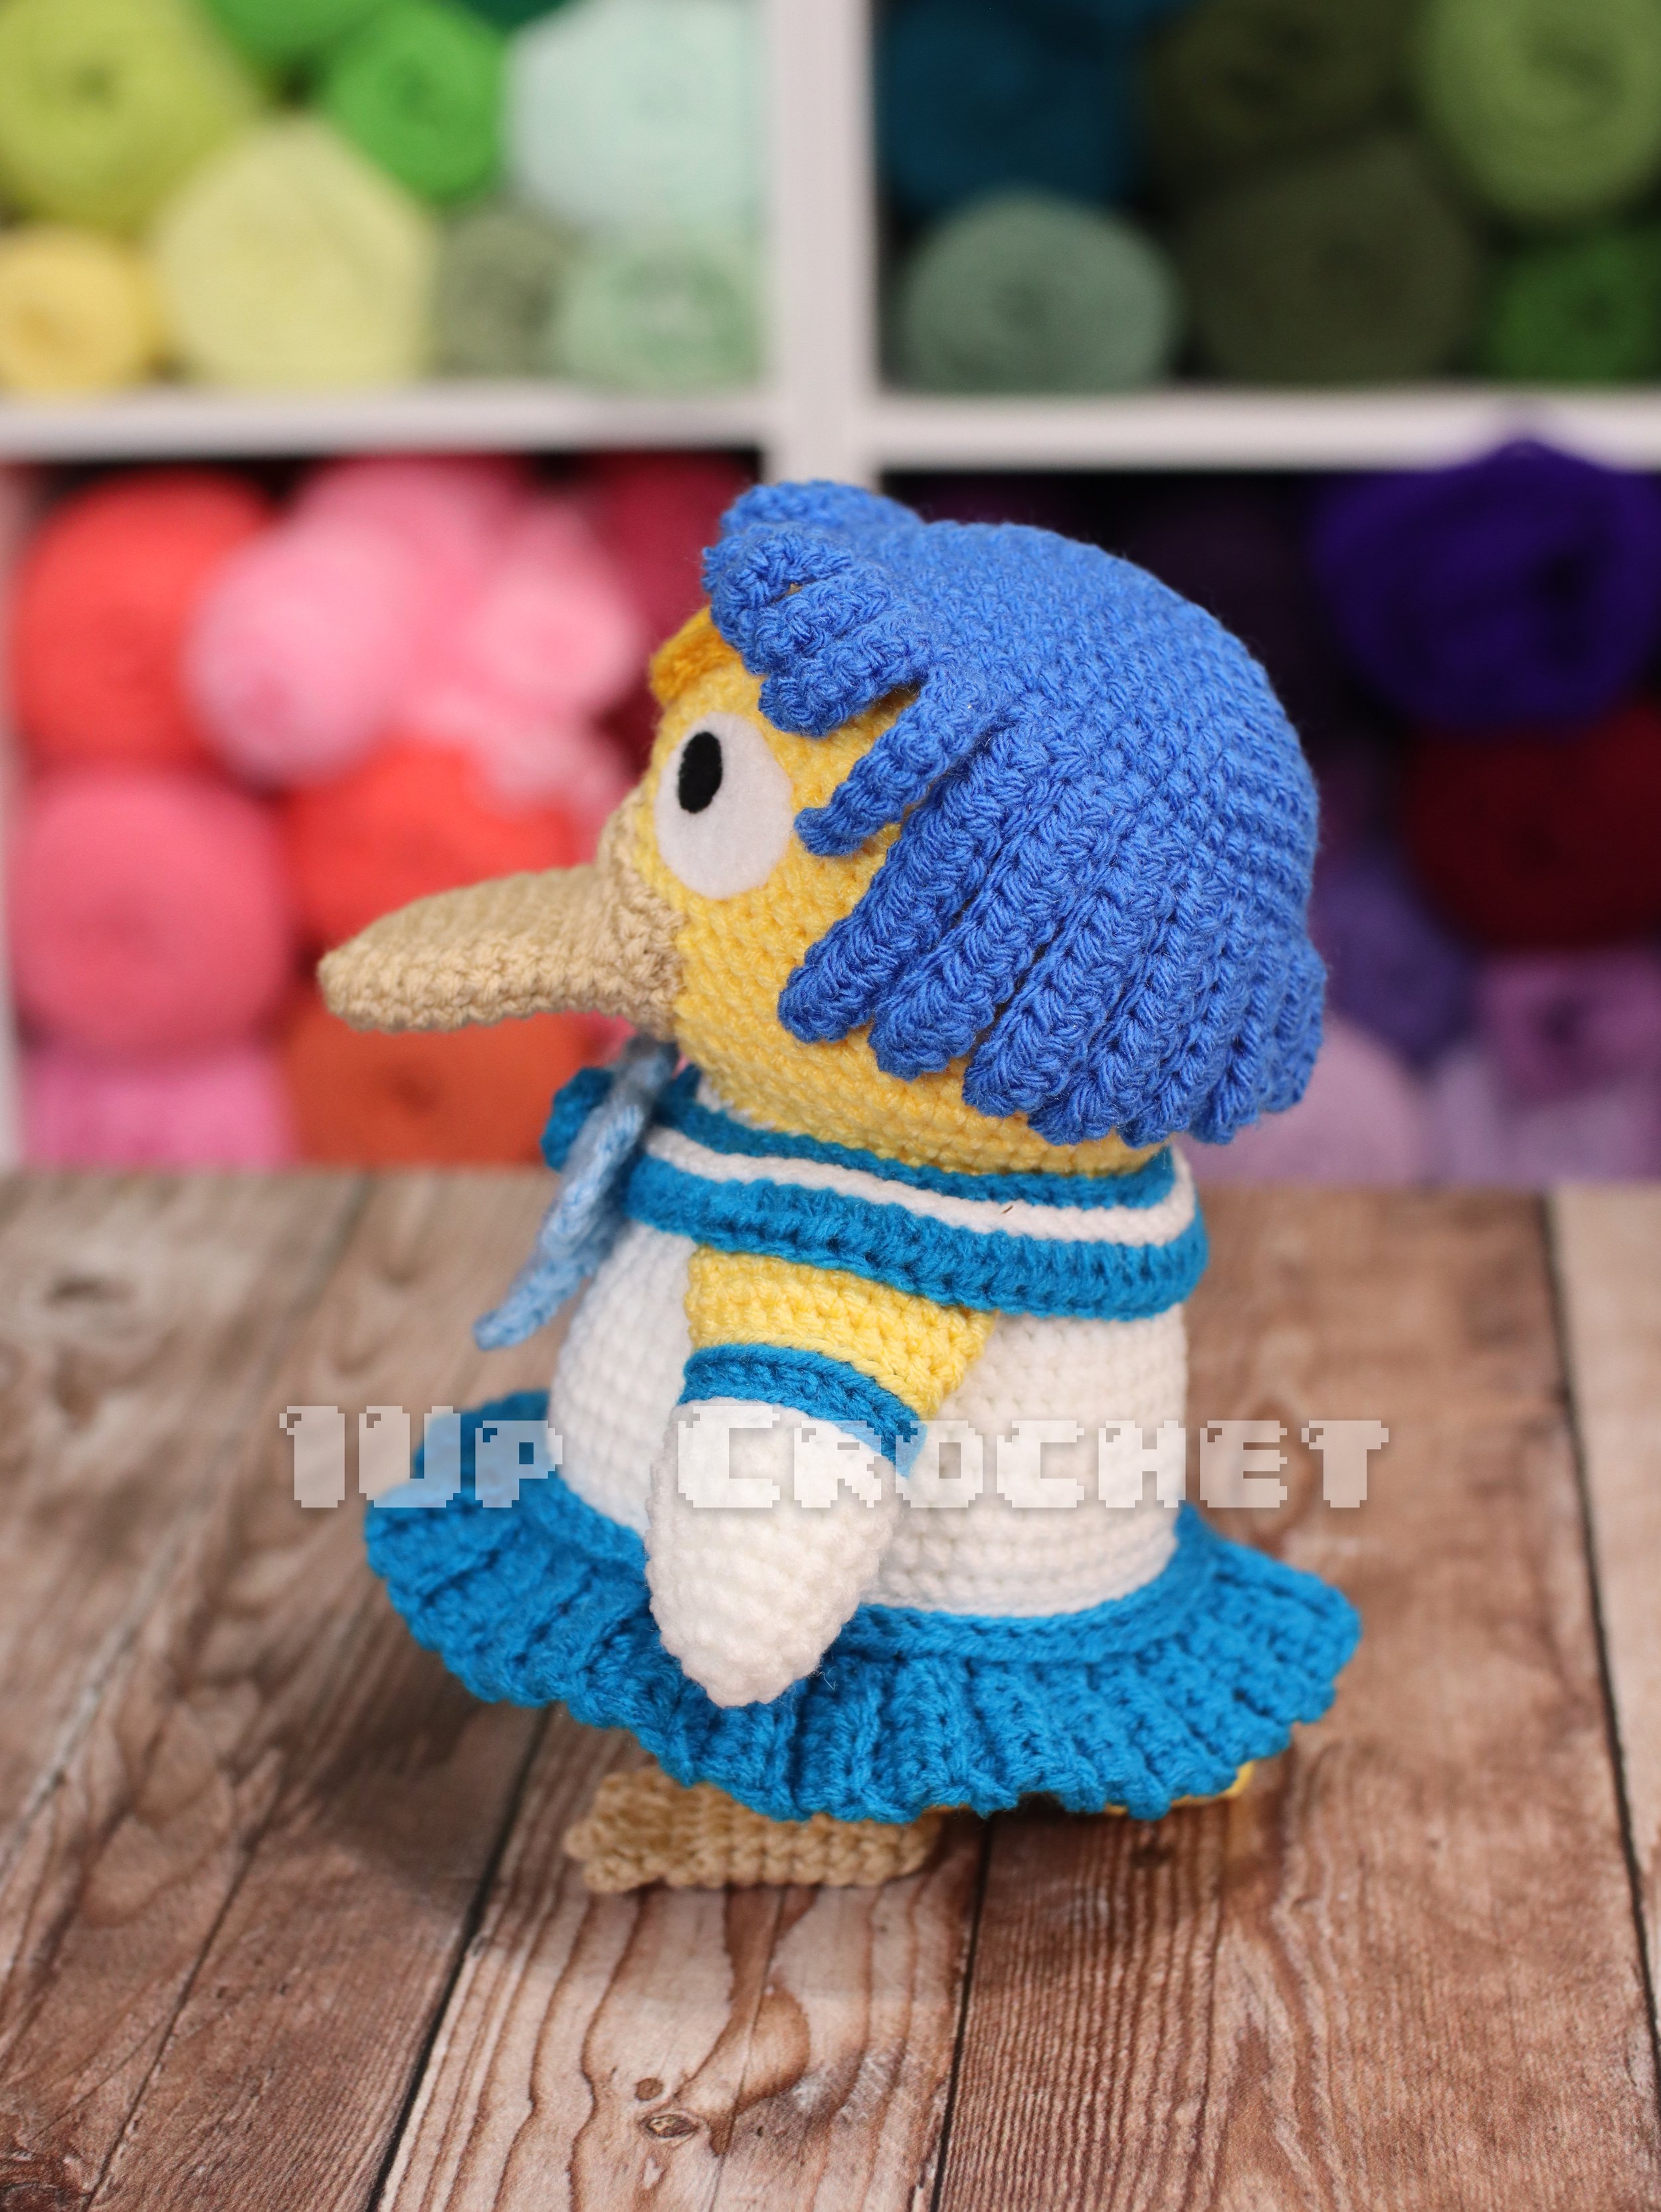
Mercury Inspired Mod
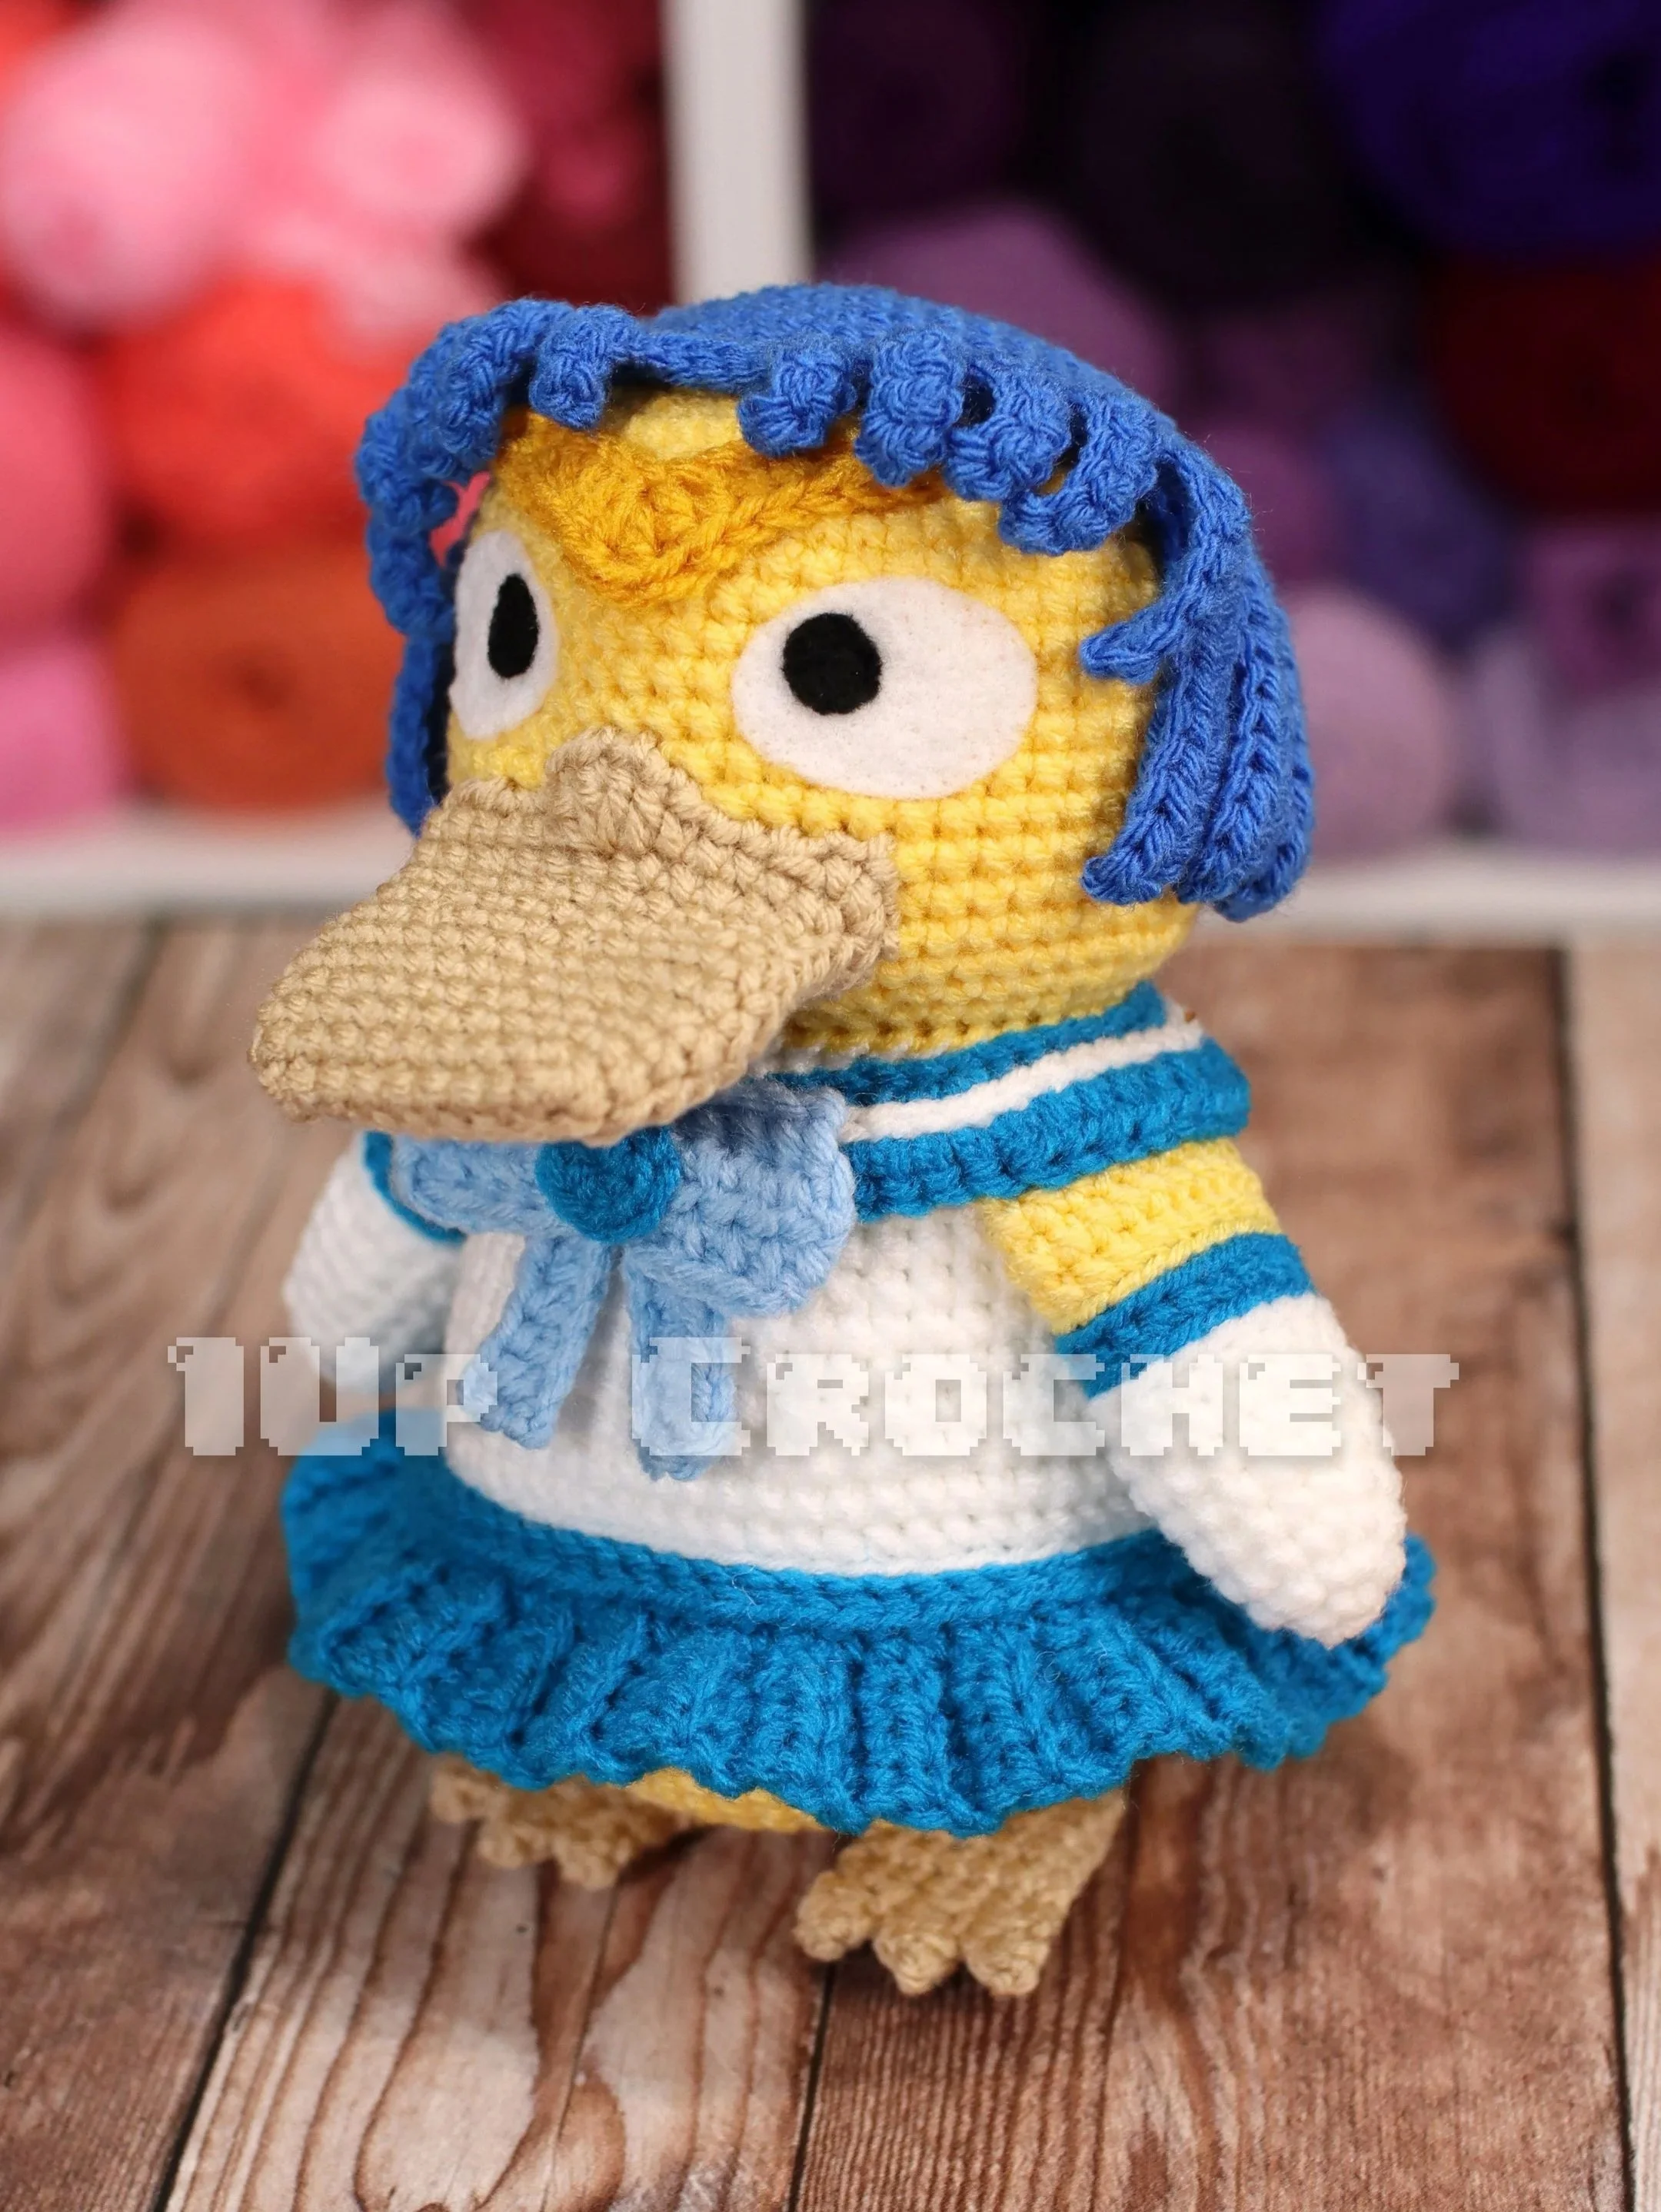
Work all parts of the pattern as written except the hair pieces.
Color Swaps
Specific shades of Blue used:
Red Heart Super Saver in: POOL, BLUE, and LIGHT BLUE.
Alternate colors:
When making the Body, swap Blue for POOL.
When making the Shirt Collar, swap Blue for POOL.
When making the Skirt, swap Blue for POOL.
When making the Arms, swap Red for POOL.
When making the Bow Parts A and B, swap Red for LIGHT BLUE.
When making Part C of the Bow, Swap Gold for POOL.
When making the Hair, use BLUE and follow the alternate pattern below.
Hair
Use BLUE.
Rnd 1) 7 sc in magic ring—7
Rnd 2) Inc in each sc around—14
Rnd 3) [1 sc, inc] 7 times—21
Rnd 4) [2 sc, inc] 7 times—28
Rnd 5) [3 sc, inc] 7 times—35
Rnd 6) [4 sc, inc] 7 times—42
Rnd 7) [5 sc, inc] 7 times—49
Rnd 8) [6 sc, inc] 7 times—56
Rnd 9 - Rnd 10) Sc in each sc around—56
Rnd 11) ch 9, work down the ch: sc in each ch st; skip next sc st on Row 10, sl st in next st,
ch 8, work down the ch: sc in each ch st; skip next sc st on Row 10, sl st in next st,
ch 7, work down the ch: sc in each ch st; skip next sc st on Row 10, sl st in next st,
ch 7, work down the ch: sc in each ch st; skip next sc st on Row 10, sl st in next st,
ch 6, work down the ch: sc in each ch st; skip next sc st on Row 10, sl st in next st,
sl st in next 3 sts on Row 10
ch 6, work down the ch: sc in each ch st; skip next sc st on Row 10, sl st in next st,
ch 7, work down the ch: sc in each ch st; skip next sc st on Row 10, sl st in next st,
ch 7, work down the ch: sc in each ch st; skip next sc st on Row 10, sl st in next st,
ch 8, work down the ch: sc in each ch st; skip next sc st on Row 10, sl st in next st,
ch 9, work down the ch: sc in each ch st; skip next sc st on Row 10, sl st in next st,
Now we will make 16 longer hair strands of varying chain lengths:
ch 12, work down the ch: sc in 2nd ch from hook, hdc in each chain st; skip next sc st on Row 10, sl st in next st,
ch 11, work down the ch: sc in 2nd ch from hook, hdc in each chain st; skip next sc st on Row 10, sl st in next st,
ch 10, work down the ch: sc in 2nd ch from hook, hdc in each chain st; skip next sc st on Row 10, sl st in next st,
ch 9, work down the ch: sc in 2nd ch from hook, hdc in each chain st; skip next sc st on Row 10, sl st in next st,
ch 8, work down the ch: sc in 2nd ch from hook, hdc in each chain st; skip next sc st on Row 10, sl st in next st,
ch 7, work down the ch: sc in 2nd ch from hook, hdc in each chain st; skip next sc st on Row 10, sl st in next st,
[ch 6, work down the ch: sc in 2nd ch from hook, hdc in each chain st; skip next sc st on Row 10, sl st in next st] 4 times,
ch 7, work down the ch: sc in 2nd ch from hook, hdc in each chain st; skip next sc st on Row 10, sl st in next st,
ch 8, work down the ch: sc in 2nd ch from hook, hdc in each chain st; skip next sc st on Row 10, sl st in next st,
ch 9, work down the ch: sc in 2nd ch from hook, hdc in each chain st; skip next sc st on Row 10, sl st in next st,
ch 10, work down the ch: sc in 2nd ch from hook, hdc in each chain st; skip next sc st on Row 10, sl st in next st,
ch 11, work down the ch: sc in 2nd ch from hook, hdc in each chain st; skip next sc st on Row 10, sl st in next st,
ch 12, work down the ch: sc in 2nd ch from hook, hdc in each chain st; skip next sc st on Row 10, sl st in next st,.
Fasten off and leave a long tail for sewing.
Assembly
Sew or glue the hairpiece to the top of the head.
Tip: If you find that the longer hair strands are too curly, you can try making them with a slightly larger hook. Pull them and press them flat with your fingers.
Thanks for checking out my pattern!
I’d LOVE to see your work too! Shout out to me on social media with #1upcrochet and show off pictures of your completed projects!