

Free Silksong Inspired Sherma Amigurumi Pattern
By 1Up Crochet

“Fa Ri Do La Zi Ma Net!”
-
-While making this amigurumi you will work in continuous rounds, unless told otherwise. Use a stitch marker to mark the end of your rounds.
-The finished amigurumi should measure approximately 6.5 inches tall in. Size may vary, depending on yarn type and personal yarn tension.
-Instructions that need to be repeated will be marked with brackets followed by the number of times it needs to be repeated.
Example:
Rnd 4) [2 sc, inc] 6 times—24
-
[This pattern uses Worsted Weight 4-Medium Yarn]
All colors from Red Heart Super Saver:
-White
-Black
-Dark Orchid
-Gold
-Dusty Gray
-
Black
-
E Hook (3.5 mm)
Scissors
Yarn Needle
Fiber-Fil Stuffing
Hot Glue -or- Felting Needle to apply felt eyes
Important Information
You may not claim this pattern as your own. You may not alter, copy, sell, or redistribute this pattern in whole or in part.
This pattern is intended for personal use only.
If you publish photos of items made from this pattern, I ask that you please give me credit as the original designer of the pattern. It's always a good idea to give credit where credit is due.
I DID NOT CREATE THIS CHARACTER. SHERMA IS THE PROPERTY TEAM CHERRY. THIS PATTERN IS NOT AFFILIATED WITH, ENDORSED BY, OR SPONSORED BY TEAM CHERRY. THIS PATTERN IS NOT BRANDED AS ANYTHING AFFILIATED WITH SAID FRANCHISE.
Abbreviations
sc= single crochet
hdc = half double crochet
dc = double crochet
tr = triple crochet
inc = increase (2 sc in the next stitch)
dec = invisible decrease (sc 2 together)
ch = chain
sl st = slip stitch
rep = repeat
Head
Use White and Dusty Gray. Start with White.
Ch 5.
Rnd 1) Work down the chain: 3 sc, 3 sc in last ch; work up other side: 3 sc, 3 sc in last ch—12
See images a. through c. below for guidance.
Rnd 2) 3 sc, 2 sc in next 3 sc, 3 sc, 2 sc in next 3 sc—18
Rnd 3) 3 sc, [1 sc, inc] 3 times, 3 sc, [1 sc, inc] 3 times—24
Rnd 4) 3 sc, [1sc, inc, 1 sc] 3 times, 3 sc, [1 sc, inc, 1 sc] 3 times—30
Change color to Dusty Gray.
Rnd 5) Sl st in BLO of each st around—30
Rnd 6) Work entire rnd in BLO’s: [4 sc, inc] 6 times—36
Rnd 7) – Rnd 13) Sc in each sc around—36
Rnd 14) [4 sc, dec] 6 times—30
Rnd 15) [3 sc, dec] 6 times—24
Rnd 16) [2 sc, dec] 6 times—18
Rnd 17) [1 sc, dec] 6 times—12
Rnd 18) Dec 6 times—6
Stuff the head and close off.

Body
Use Dusty Gray.
Use Dusty Gray.
Rnd 1) 6 sc in magic ring—6
Rnd 2) Inc in each sc around—12
Rnd 3) [1 sc, inc] 6 times—18
Rnd 4) [2 sc, inc] 6 times—24
Rnd 5) [3 sc, inc] 6 times—30
Rnd 6) – Rnd 11) sc in each sc around—30
Rnd 12) [3 sc, dec] 6 times—24
Rnd 13) [2 sc, dec] 6 times—18
Make a sl st in the next sc, then fasten off. Stuff the Body.
With a long strand of black yarn, embroider a straight line between Rnds 6 and 7. Make another straight line of black between Rnds 10-11.

Hat
Use Gold.
Rnd 1) 6 sc in magic ring—6
Rnd 2) Inc in each sc around—12
Rnd 3) [1 sc, inc] 6 times—18
Rnd 4) [1 sc, inc, 1 sc] 6 times—24
Rnd 5) [3 sc, inc] 6 times—30
Rnd 6) [2 sc, inc, 2 sc] 6 times—36
Rnd 7) [5 sc, inc] 6 times—42
Rnd 8) [3 sc, inc, 3 sc] 6 times—48
Rnd 9) [7 sc, inc] 6 times—54
Rnd 10) [4 sc, inc, 4 sc] 6 times—60
Rnd 11) Sc in each sc around—60
Make a sl st in the next sc, then fasten off. Weave in the end.
Hat Ring
Use Gold.
Chain 7.
Sl st into the 1st chain to form a ring. Ch 1.
Rnd 1) 14 hdc into the ring—14
Sl st into the first hdc, then fasten off. Leave a long tail for sewing.

Leg (make 2)
Use Black.
Rnd 1) 6 sc in magic ring—6
Rnd 2) Sc in each sc around—6
Rnd 3) Sc in each sc around—6
Rnd 4) [1 sc, inc] 3 times—9
Rnd 5) 3 sc, 4 hdc, 2 sc—9
Sl st in the next st, then fast off. Leave a long tail for sewing. Stuff the leg.
Arm (make 2)
Use Black.
Rnd 1) 6 sc in magic ring—6
Rnd 2) – Rnd 4) sc in each sc around—6
Rnd 5) 5 sc, inc—7
Rnd 6) 6 sc, inc—8
Rnd 7) Sc in each sc around—8
Stuff the arm if needed. Fold opening in half, insert hook through stitches on both sides, and make a row of sc across—4
Fasten off and leave a long tail for sewing.
Cape
Use Dark Orchid. This piece is worked in ROWS.
Note: stitches contained within parentheses ( ) are worked into the same stitch.
Chain 2.
Row 1) 4 sc in 1st ch—4
Row 2) Inc in each sc—8
Row 3) [1 sc, inc] 4 times—12
Row 4) [2 sc, inc] 4 times—16
Row 5) [3 sc, inc] 4 times—20
Row 6) [4 sc, inc] 4 times—24
Row 7) [5 sc, inc] 4 times—28
Row 8) [6 sc, inc] 4 times—32
Row 9) [7 sc, inc] 4 times—36
Row 10) [8 sc, inc] 4 times—40
Row 11) Inc, 9 sc, [sc, hdc, (dc, tr, dc), hdc, sc] 4 times, 9 sc, inc—50
Chain 4. Do not fasten off yet! Set aside until assembly.

Finished Cape
Bell
Use Gold.
Rnd 1) 6 sc in magic ring—6
Rnd 2) inc in each sc around—12
Rnd 3) sc in each sc around—12
Rnd 4) sc in each sc around—12
Rnd 5) dec 6 times—6
Rnd 6) sc in each sc around—6
Rnd 7) [1 sc, inc] 3 times—9
Rnd 8) sc in each sc around—9
Rnd 9) sc in each sc around—9
Rnd 10) [2 sc, inc] 3 times—12
Rnd 11) dec 6 times
Fasten off and stuff the bell. Close the opening.

Needle
Use Dusty Gray.
Rnd 1) 3 sc in magic ring—3
Rnd 2) inc in each sc around—6
Rnd 3) sc in each sc around—6
Rnd 4 - Rnd 12) sc in each sc around—6
Fold the top opening in half and insert hook through stitches on both sides. Make a row of sc’s across the top to close.
Needle Eye/Ring
Use Dusty Gray.
Use Dusty Gray.
Chain 6.
Sl st into the 1st chain to form a ring. Ch 1.
Rnd 1) 13 sc into the ring—13
Sl st into the first sc, then fasten off. Leave a long tail for sewing.
Sew the Needle Ring to the Top of the needle.

Eyes
From the black felt, cut out two small oval shapes that are approximately 3/4'’ long and 1/2'’ wide.
Assembly

Sew the open end of the body to the head from rounds 6-7 to rounds 12-13 on the head.

2. Sew the Legs to the bottom of the body. Note that the raised sides of the legs (side with the hdc’s) should be placed laterally on the body.

3. Sew the arms on the sides of the body, reaching forward. The top stitch of the arm should be placed 2 rows below the seam between the body and head.

4. Wrap the cape snuggly around the neck. Check the length of the chain as needed so that it can be sewn to the other side of the cape while staying tight. Sew the row ends of the cape around the neck as needed.

5. Spply the eyes to the face
6. Sew or hot glue the bell and needle to the hands.

7. Sew the hat ring to the top of the hat then sew or glue the hat to the top of the head.
Finished Images

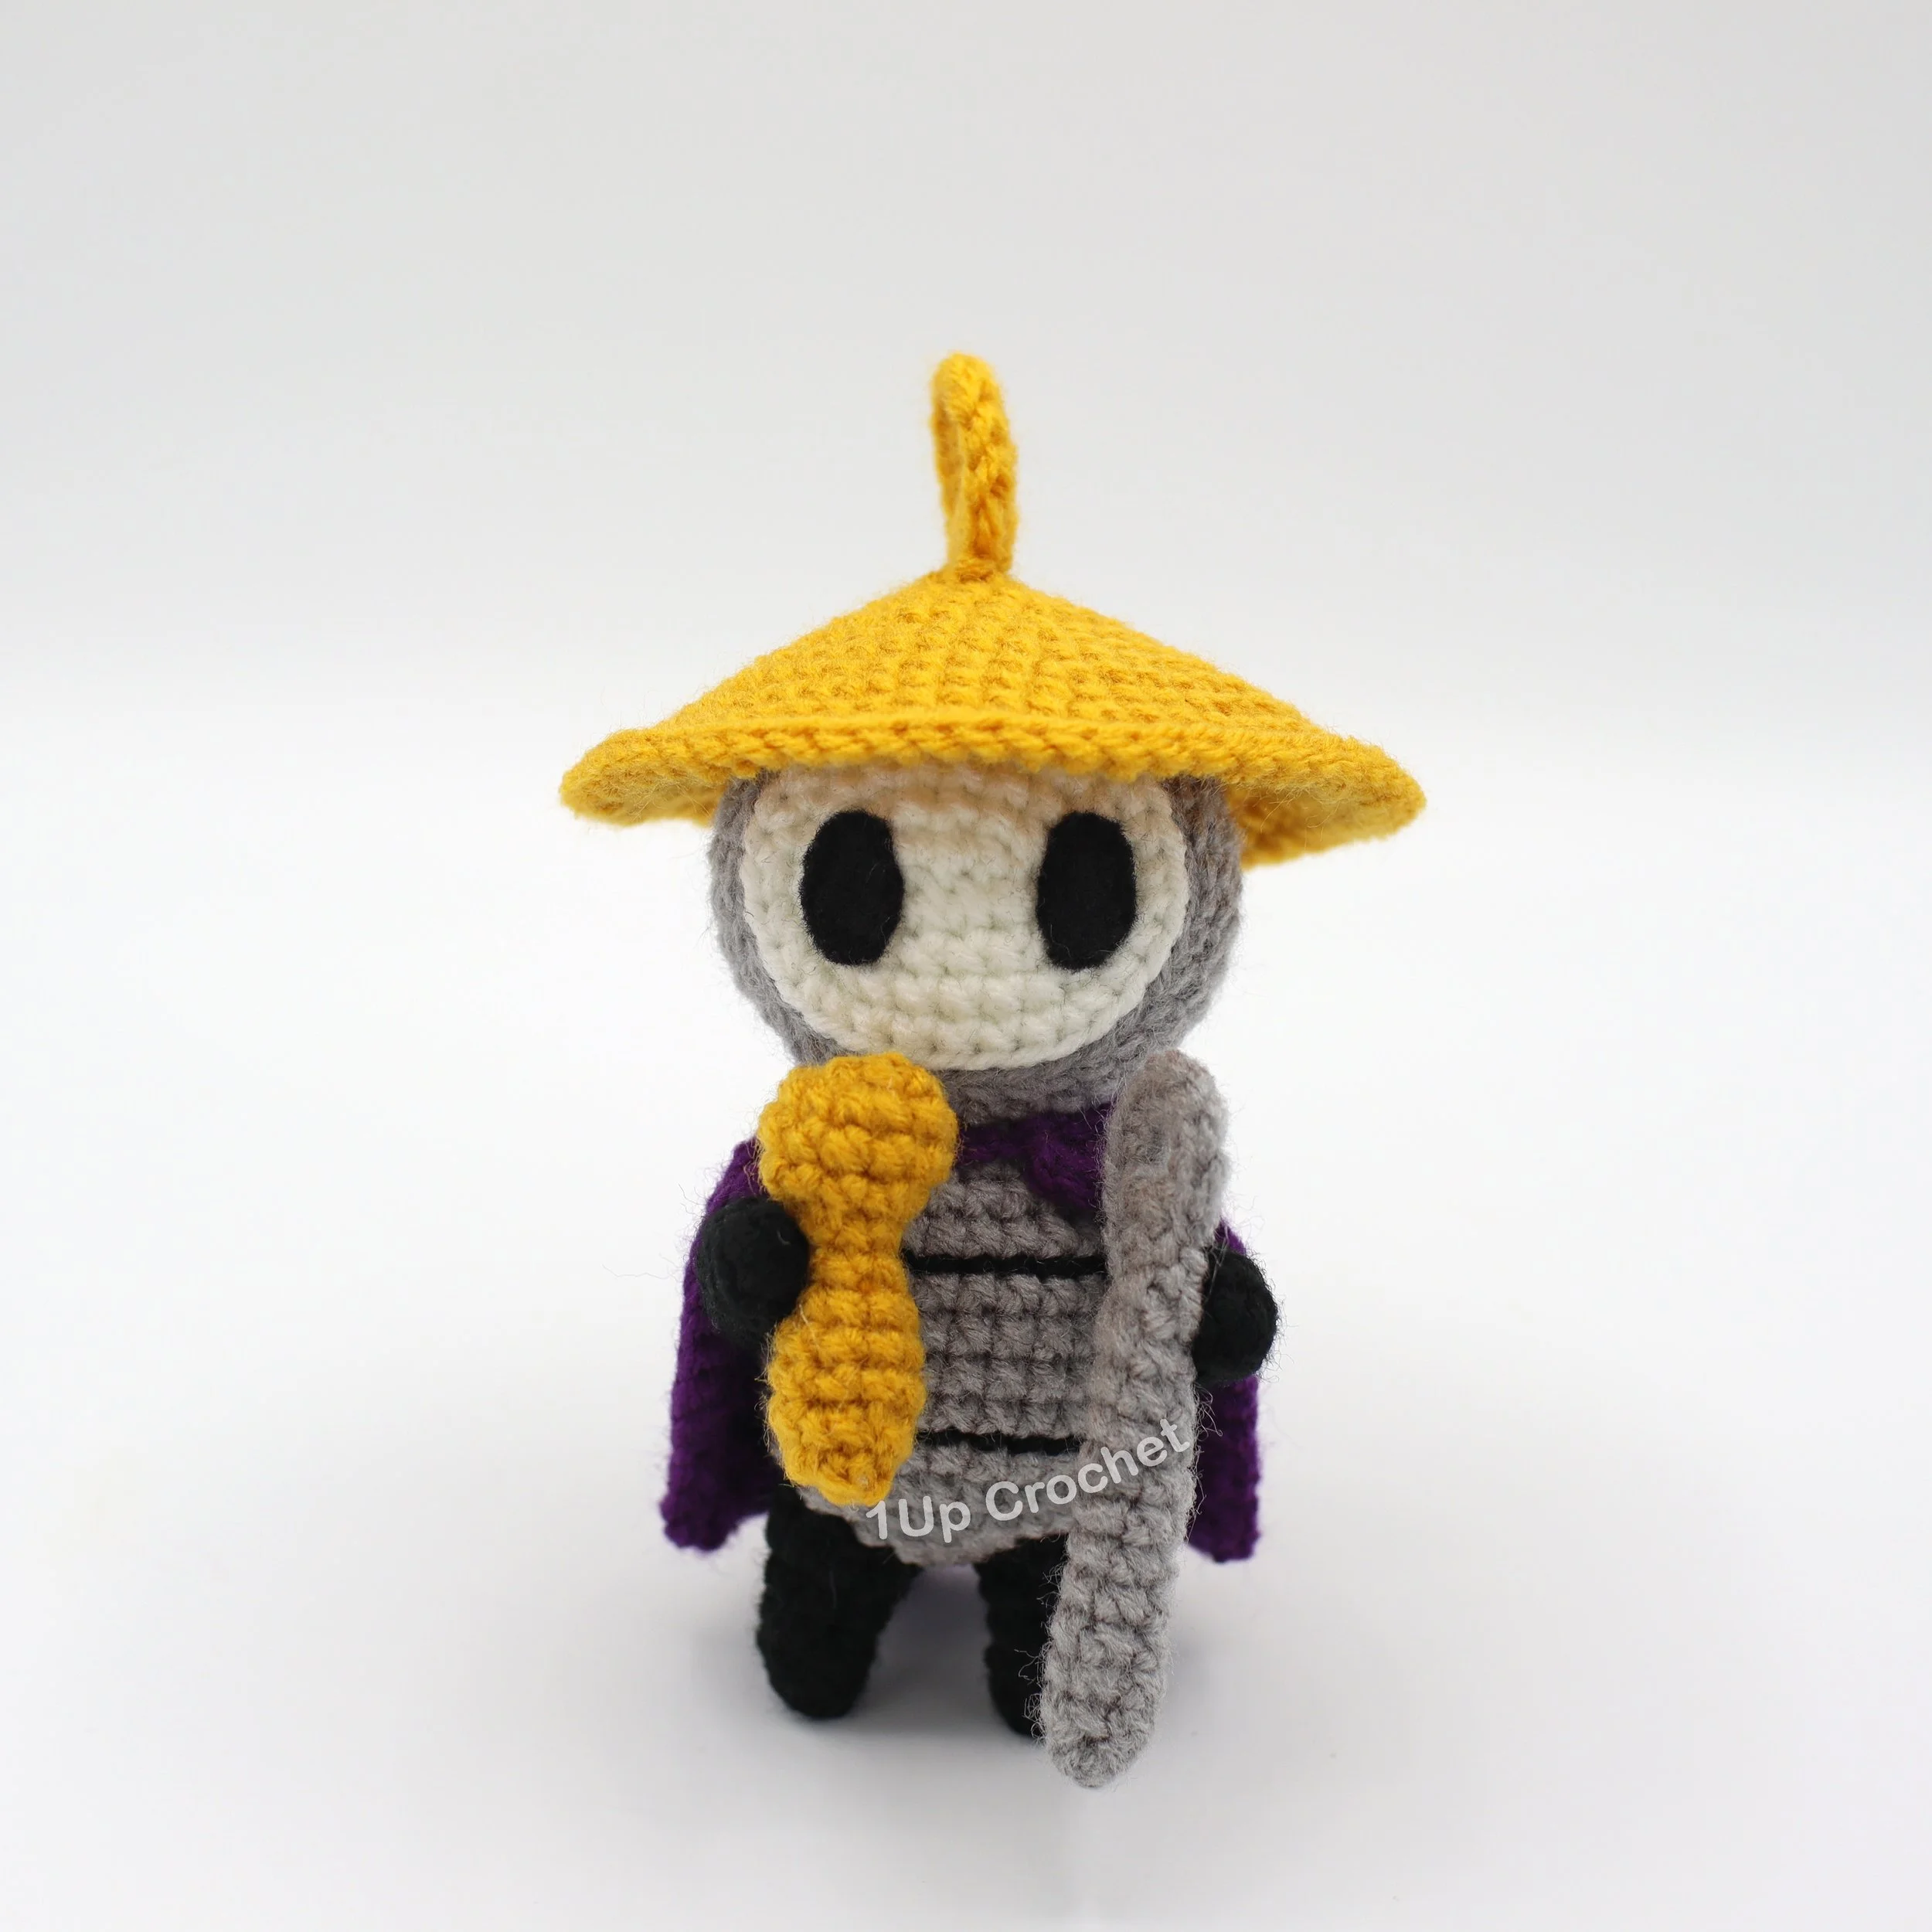
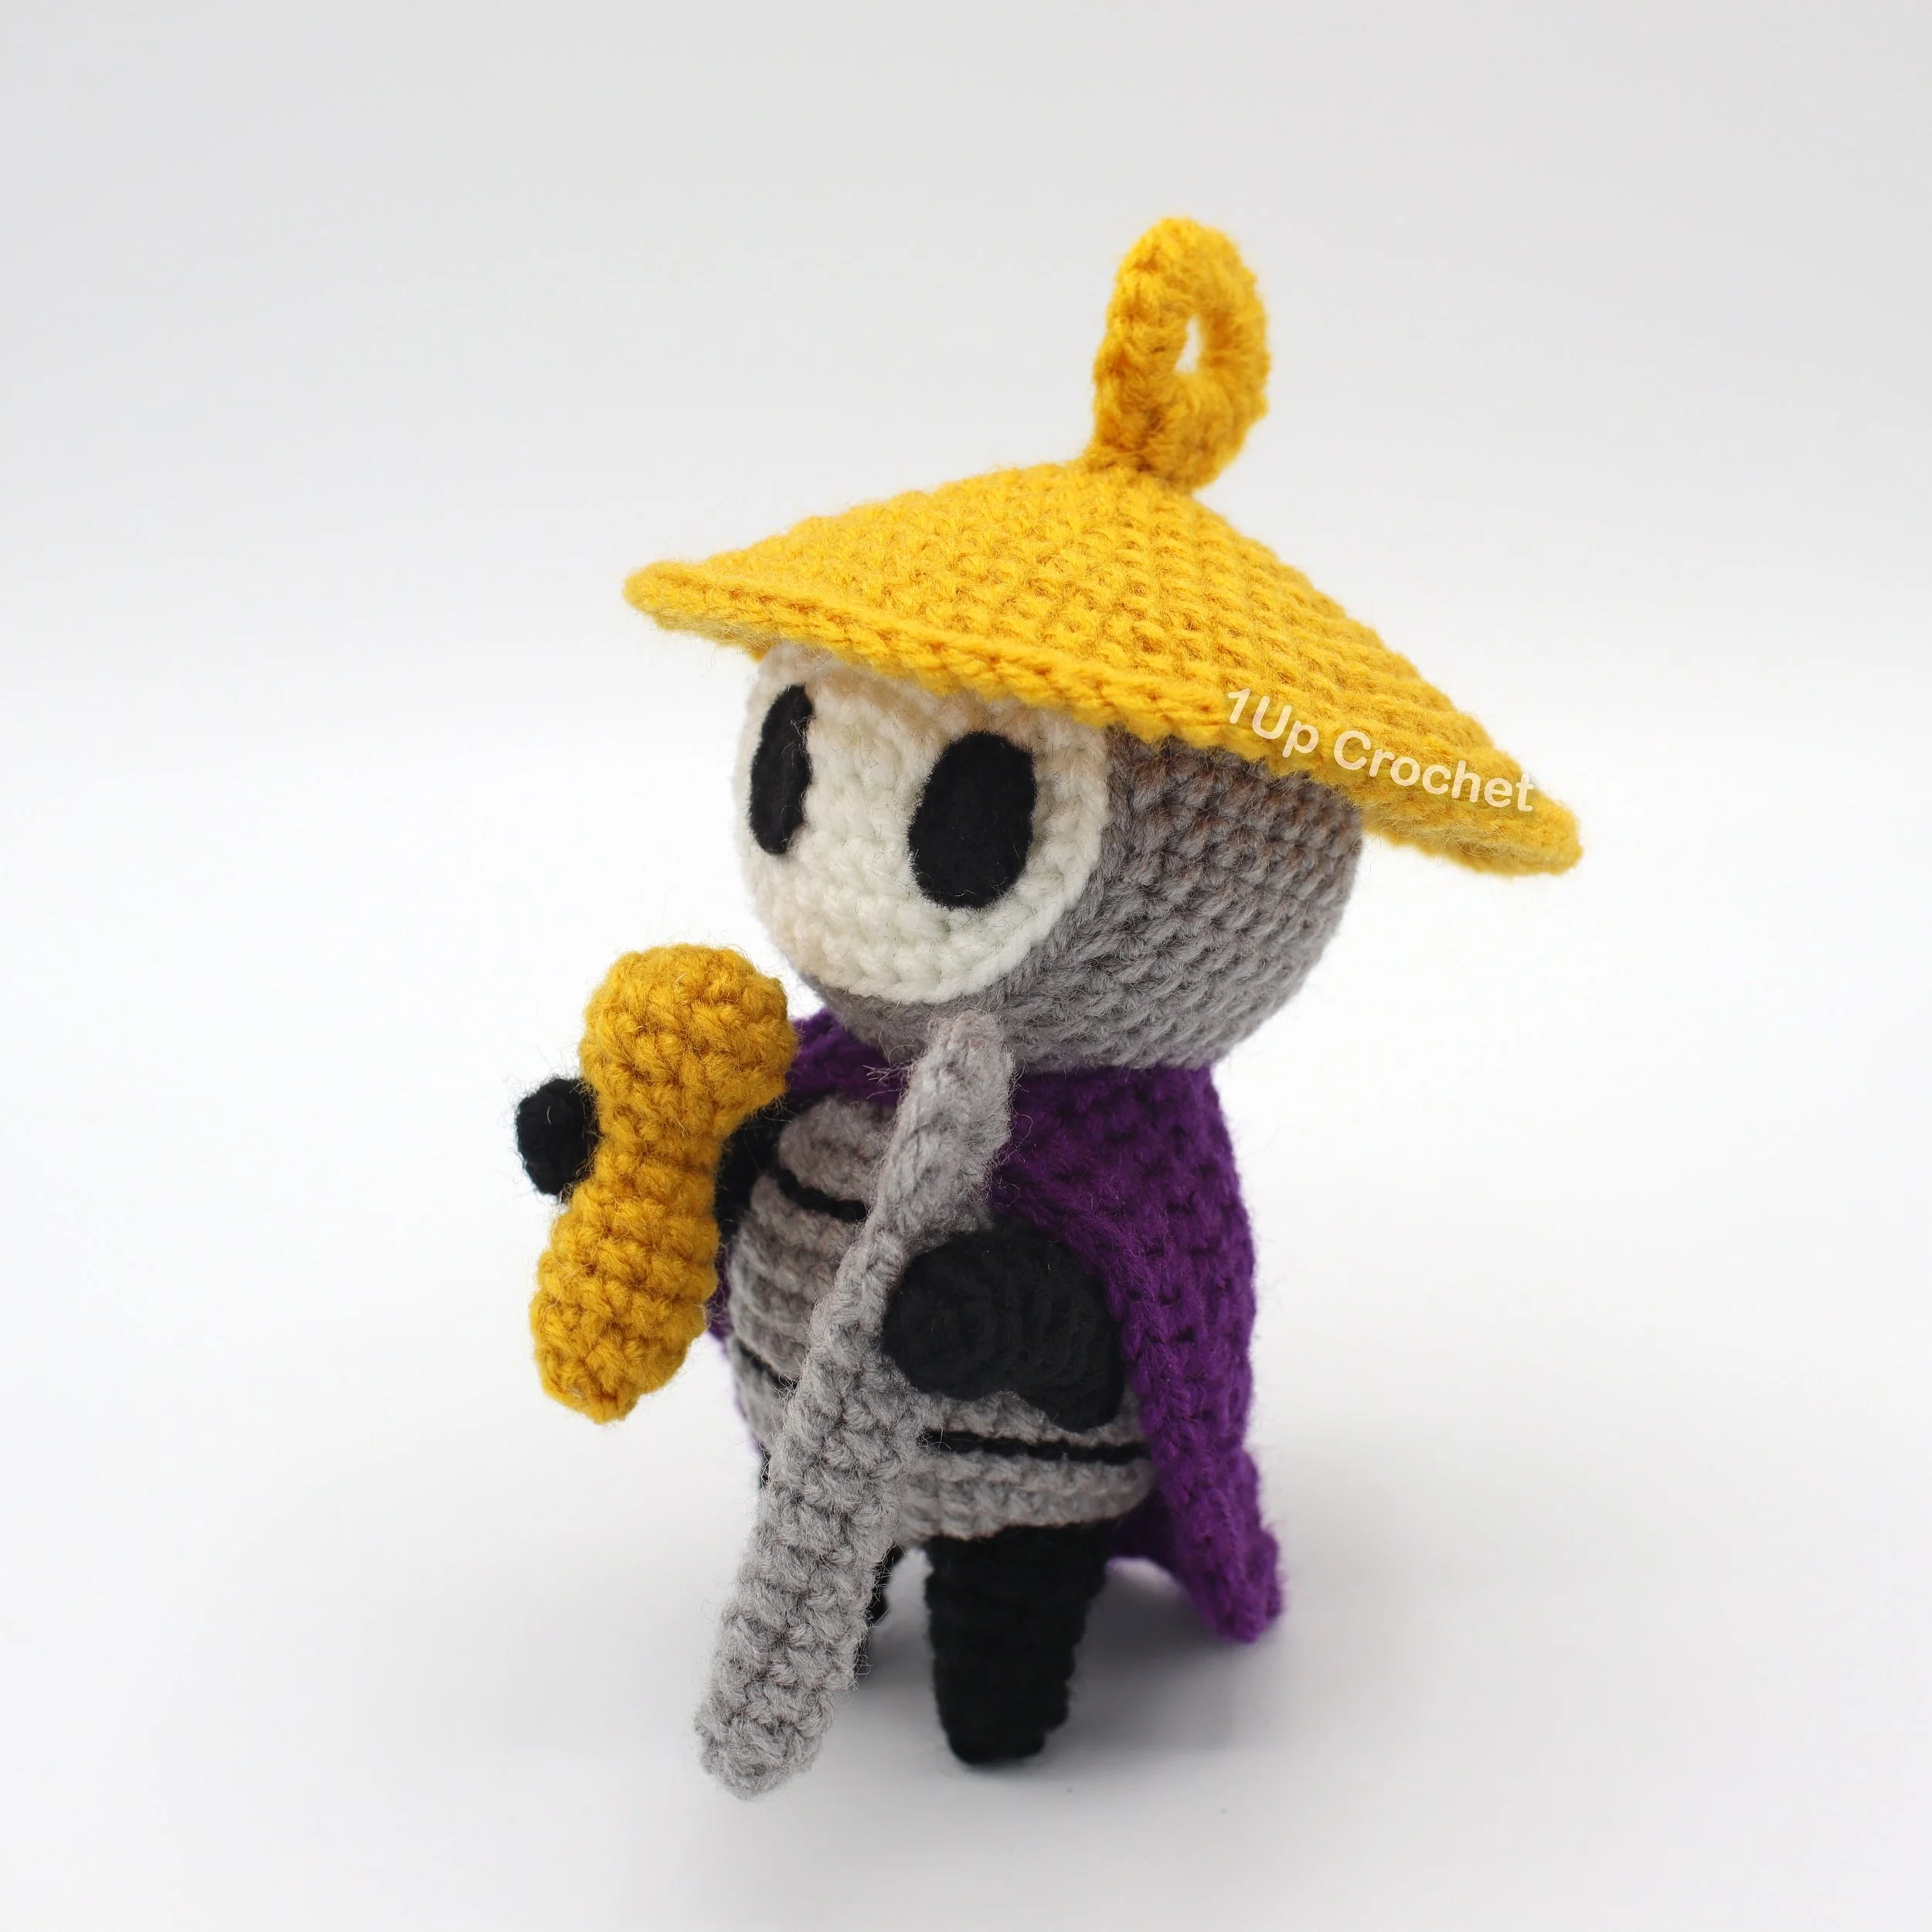
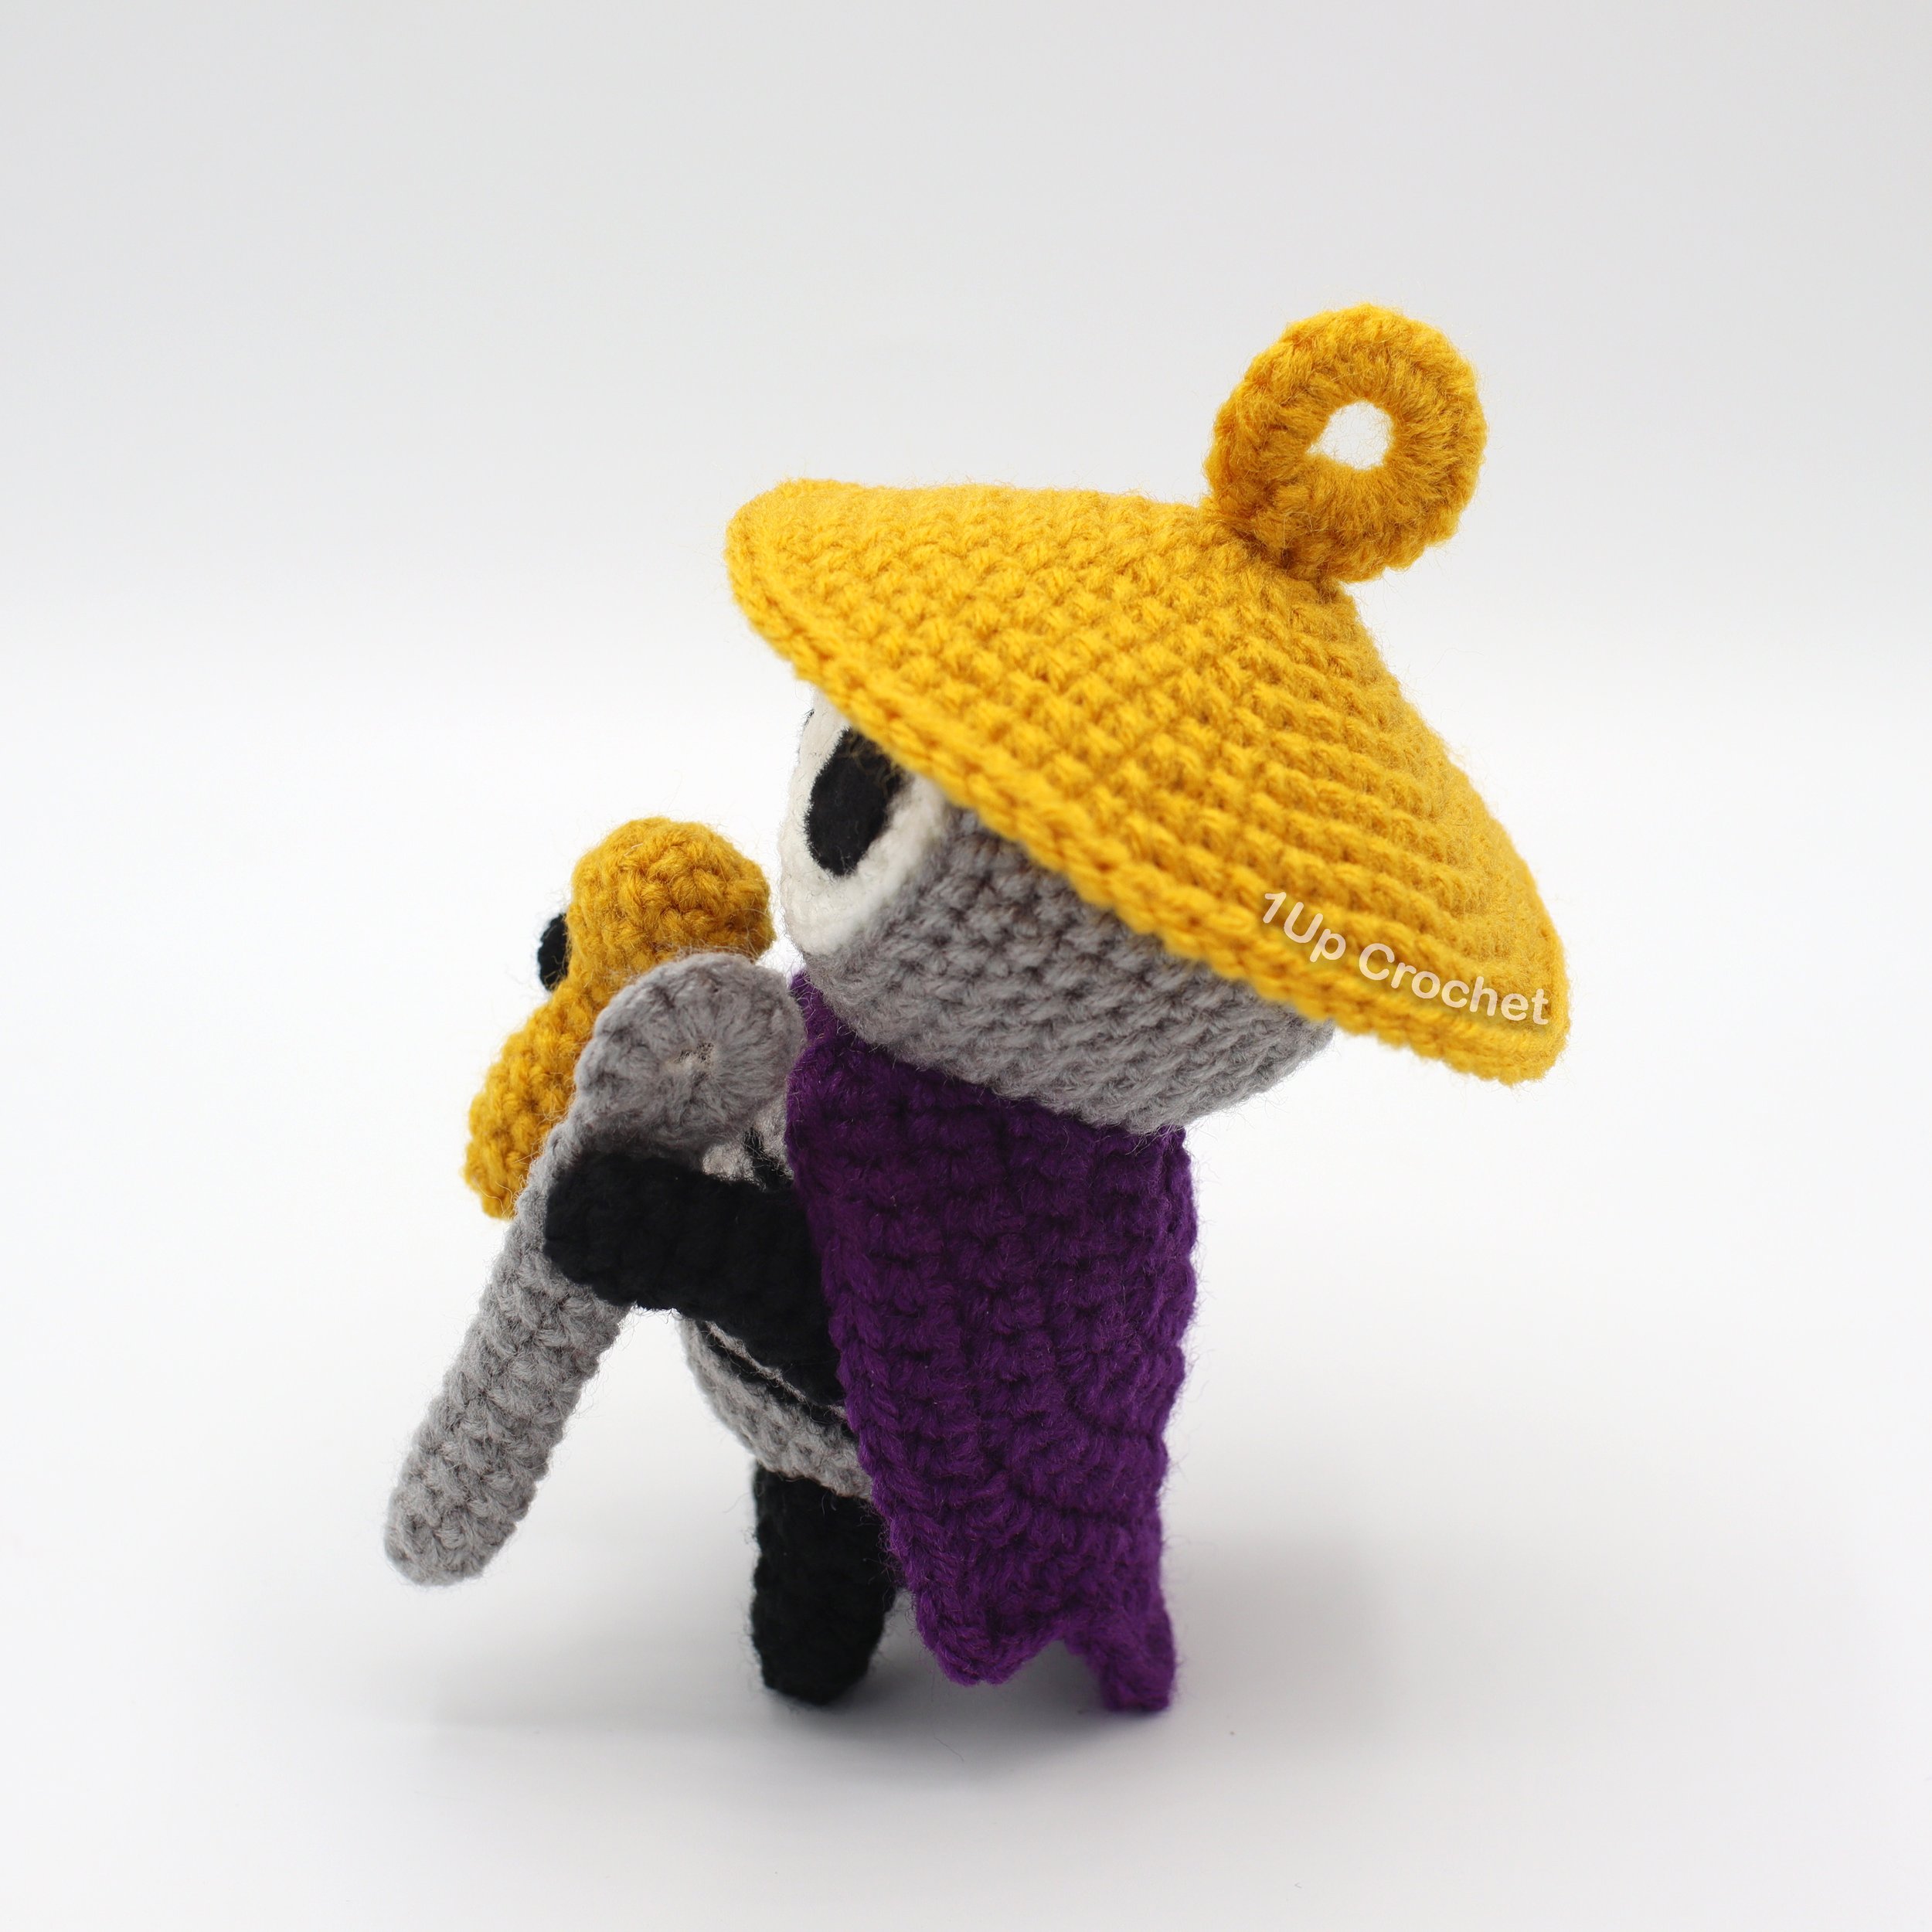
Thanks for checking out my pattern!
I’d LOVE to see your work too! Shout out to me on social media with #1upcrochet and show me pictures of your completed projects!